
The short answer
Claude Code does not push memory to Claude chat automatically. You'll copy each repo's CLAUDE.md (and the relevant parts of ~/.claude/CLAUDE.md) into a Claude Project's System Prompt, upload key repo docs as Project Knowledge, and translate slash commands into Project Knowledge text. Plan 15–25 minutes per repo. A shared MCP-based memory layer like MemoryLake lets both clients read the same source.
Why people move from Claude Code to Claude chat
Three drivers in 2026:
- High-level design discussion. Long-form architecture conversations often feel better in a chat UI.
- Cross-device access. The Claude chat product runs anywhere; Claude Code requires a terminal.
- Sharing with non-developers. Teammates without CLI familiarity can join a chat-based Project.
What "memory" means in Claude Code vs Claude
Same model, different surfaces.
Claude Code memory centers on CLAUDE.md at the repo root, ~/.claude/CLAUDE.md (user-global), custom slash commands under .claude/commands/, and MCP servers configured in Claude Code settings.
Claude (chat) memory lives inside Projects. Each Project has its own Project Knowledge (uploaded files and pasted text) and an optional System Prompt.
A CLAUDE.md becomes a Project System Prompt. Repo docs/ becomes Project Knowledge. Slash commands become Project Knowledge text or reference prompts.
Step 1: Export your Claude Code memory
Claude Code stores everything as plain files.
- Read the repo's
CLAUDE.md. Copy contents into a working text file. - Read
~/.claude/CLAUDE.md. Copy global guidance intouser-guidance.txt. - *List `.claude/commands/.md
.** Bundle them into aslash-commands.md`. - Identify MCP servers in use. Note name, endpoint URL, and authentication for each.
End state: a claude-code-export/ folder per repo with CLAUDE.md, user-guidance.txt, slash-commands.md, and mcp-list.md.
Step 2: Import into Claude (chat)
Claude expects per-Project Knowledge.
- Create a Project per repo. Open Projects → Create Project. Name it after the repo.
- Paste
CLAUDE.mdas the System Prompt. Adjust for chat — paths and CLI references should read clearly without the terminal context. - Upload repo docs as Project Knowledge. Click Add Content → Upload Files. Attach
README.md, ADRs, style guides, and similar. - Add slash-commands.md as Project Knowledge text. Paste the bundle so Claude can pull from it on request.
- Decide where user-global guidance goes. Repeat it across each relevant Project — Claude has no global Memory layer.
- Re-add MCP servers. Open Claude Desktop's MCP config and add MCP servers from mcp-list.md.
- Probe. Open the Project and ask a question that depends on a moved rule.
What you'll still lose after migrating
- Terminal-native execution. You're now in a chat UI; the run-and-edit loop is different.
- Slash command invocation.
/<name>shortcuts don't translate; you reference prompts in conversation instead. - Per-client chat history. Claude Code sessions stay in the terminal.
- Ongoing sync. New
CLAUDE.mdedits next week won't appear in the Project unless you redo the copy.
The better way: one memory layer, every Claude surface
If you use Claude Code for shipping and Claude chat for discussion, per-tool drift starts immediately.
MemoryLake holds those rules once and exposes them through MCP. Both clients support MCP, so the same project context flows into both from a single endpoint.
- One source of truth. Update once; both surfaces see the change.
- Cross-repo standards. Team conventions live above any single repo.
- Drop-in for the next tool. Add Cursor or Windsurf with a config change.
Connect MemoryLake in 3 steps
Step 1: Create a project and load your context
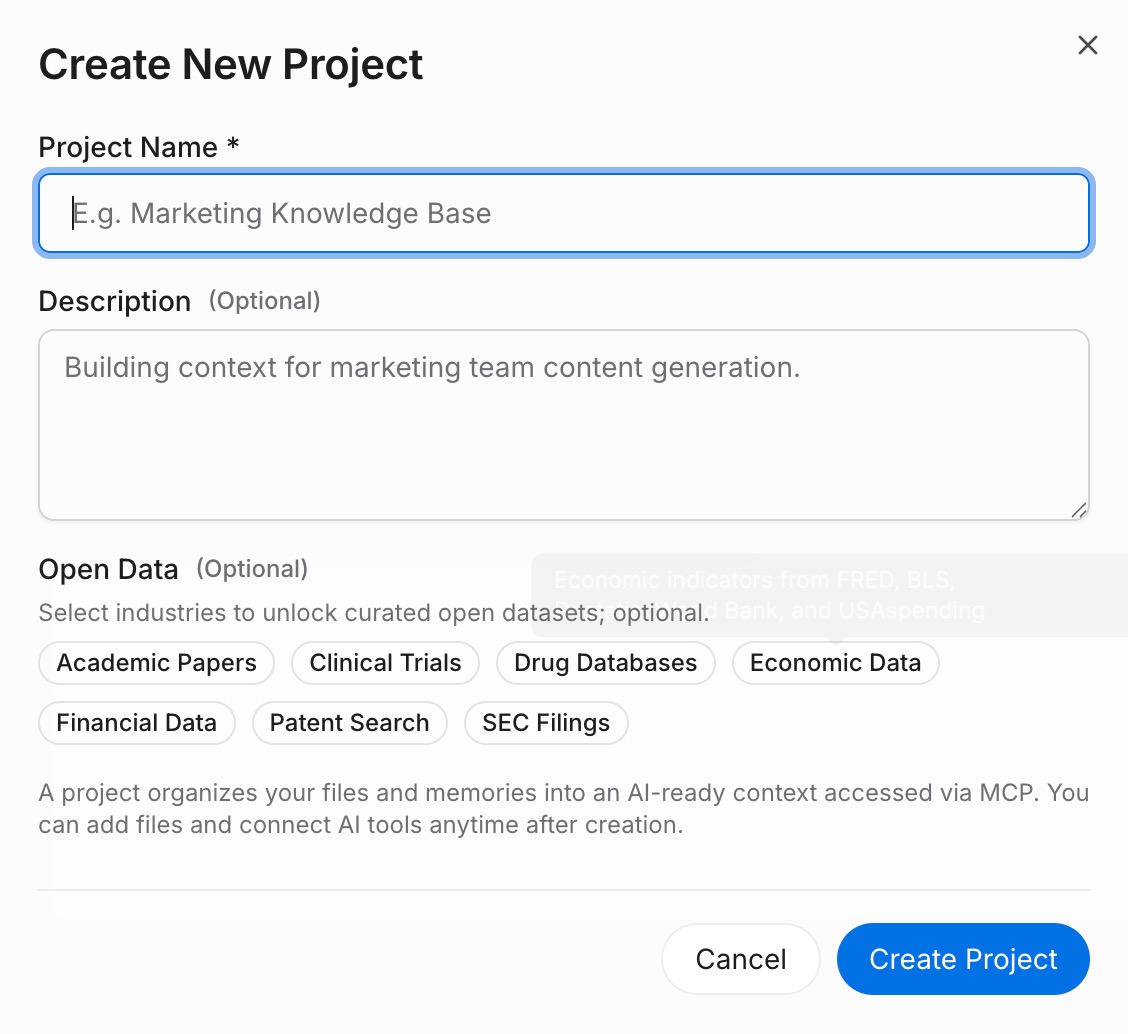
Sign in to MemoryLake, open Project Management, and click Create Project. Name it "Claude Code ↔ Claude shared context." Drag reference docs (PDF, Word, Excel, PowerPoint, Markdown, or images) into the Document Drive under My Space, then open the Documents Tab and click Add Documents. Paste your CLAUDE.md, user guidance, and slash command bodies into the Memories Tab via Add Memory.
Step 2: Generate an MCP Server endpoint
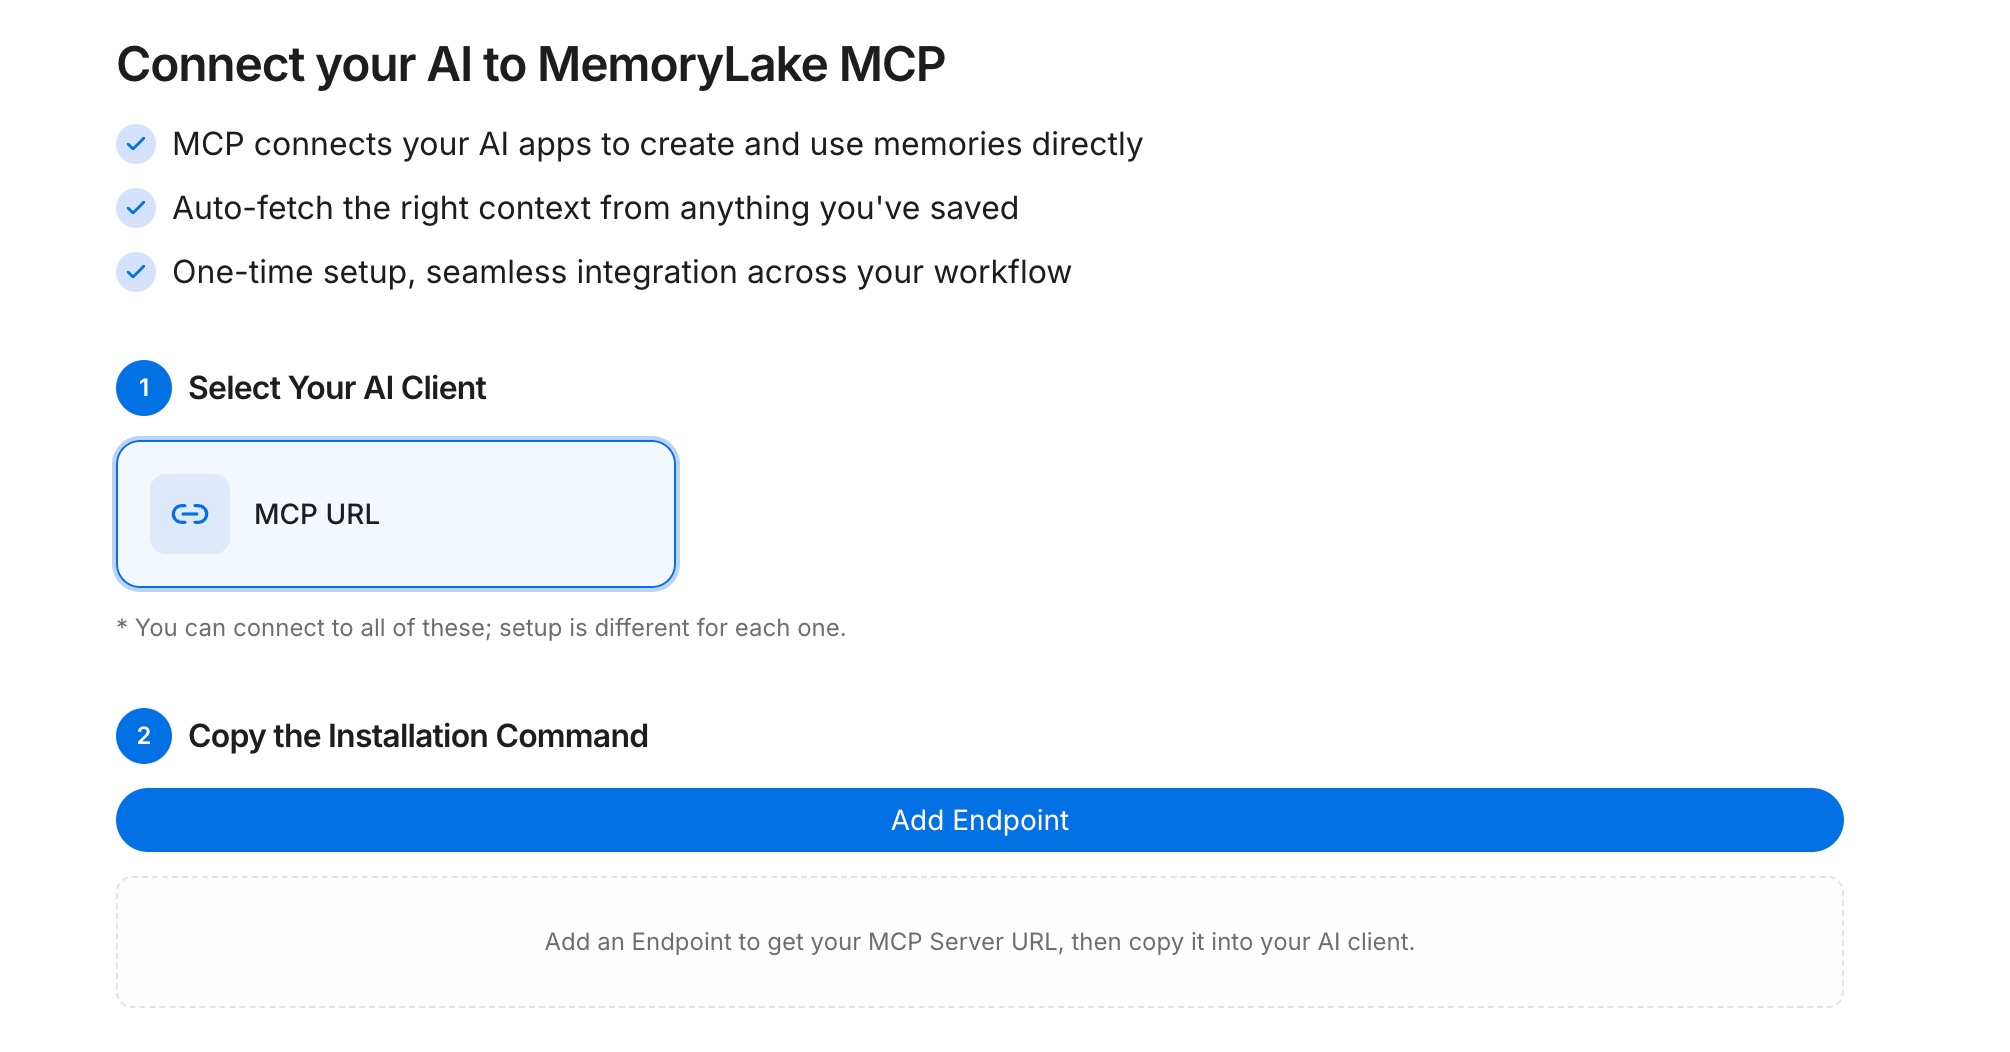
Open the MCP Servers Tab inside the project, click Add MCP Server, describe it (e.g., "Claude Code + Claude bridge"), and click Generate. MemoryLake returns a Key ID, a Secret, and an Endpoint URL. Copy the Secret immediately — it is shown only once.
Step 3: Point both clients at the endpoint
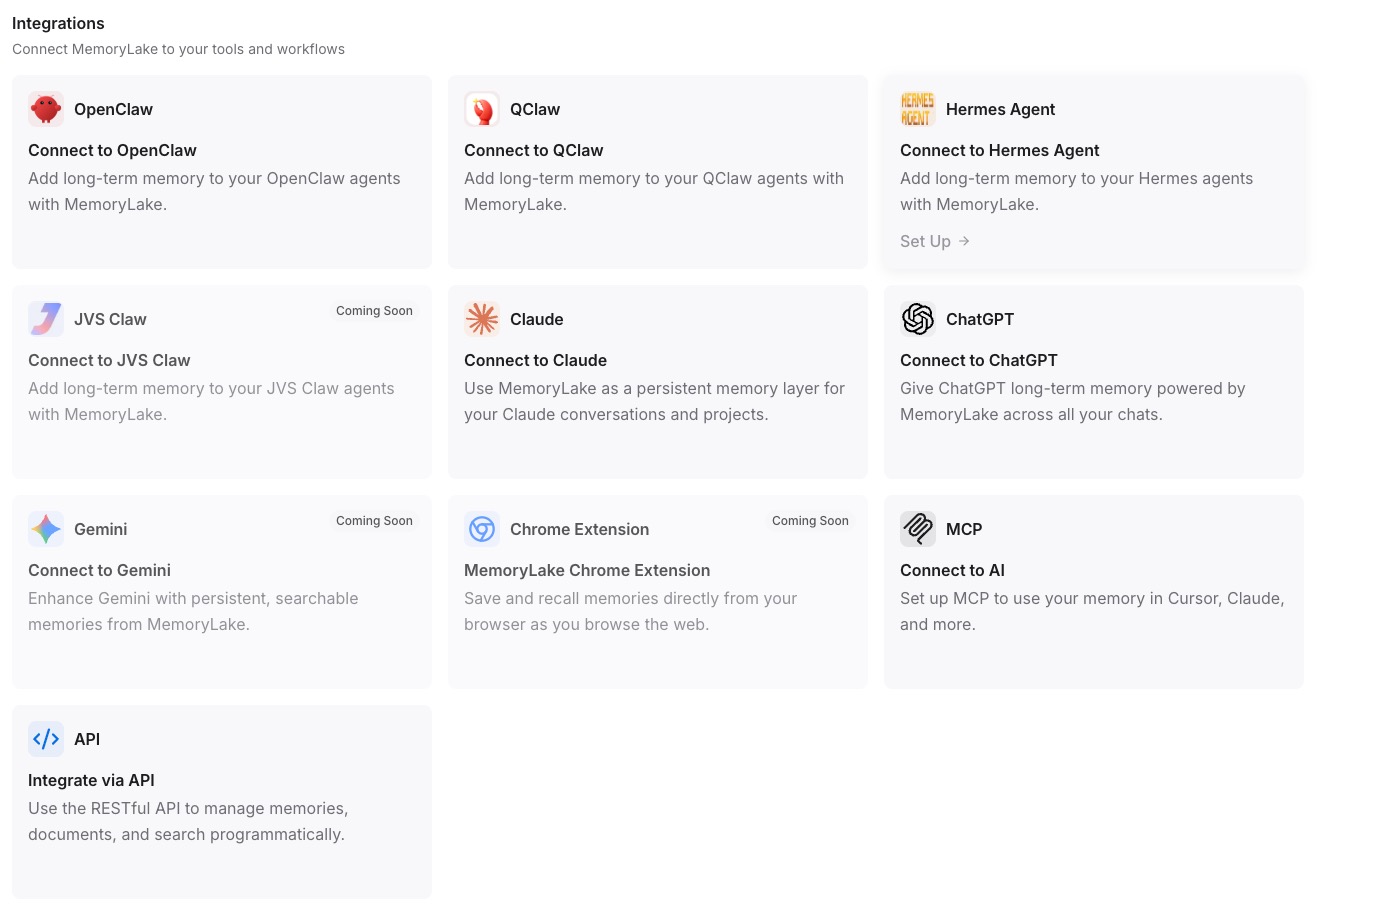
In Claude Code's settings, add a MemoryLake MCP server with the endpoint URL and the Secret as a Bearer token. Add the same MCP server to Claude Desktop's MCP config and restart Claude.
Native migration vs MemoryLake
| Dimension | Native Claude Code → Claude | MemoryLake bridge |
|---|---|---|
| Steps required | 7–10 manual | 3 one-time |
| Estimated time | 15–25 min per repo | ~5 min setup |
| Preserves repo boundary | Per-Project only | Yes (one Project) |
| MCP tool reuse | Configure per client | Endpoint shared |
| Syncs ongoing changes | No | Yes |
| Works with a third tool later | No (rebuild) | Yes (add MCP) |