
The short answer
ChatGPT has no native push to Claude Code. You'll copy Custom Instructions and saved Memory entries into ~/.claude/CLAUDE.md (user-global) and any coding-specific Custom GPT Instructions into per-repo CLAUDE.md files; reusable prompts become slash commands under .claude/commands/. Plan 15–25 minutes per repo. A shared MCP-based memory layer like MemoryLake lets both tools read the same source.
Why people switch from ChatGPT to Claude Code
Three drivers in 2026:
- Repo-native context. Claude Code reads your codebase without re-uploading files each chat.
- Long-running multi-step tasks. Refactors and migrations stay coherent across many turns.
- MCP-first defaults. Tool and memory servers plug in cleanly through MCP.
What "memory" means in ChatGPT vs Claude Code
Different scopes.
ChatGPT memory spans Custom Instructions (global), Memory (saved facts pulled across chats), and Custom GPTs (project-like containers with their own Instructions and Knowledge).
Claude Code memory centers on CLAUDE.md at the repo root, ~/.claude/CLAUDE.md (user-global), custom slash commands under .claude/commands/, and MCP servers configured in Claude Code settings.
ChatGPT Custom Instructions become ~/.claude/CLAUDE.md content. Coding-specific Custom GPT Instructions become per-repo CLAUDE.md files. Reusable prompts become slash commands.
Step 1: Export your ChatGPT memory
ChatGPT has no single export.
- Copy Custom Instructions. Settings → Personalization → Custom Instructions.
- Copy saved Memory entries. Same page → Memory. Paste each row into a text file.
- Identify coding-relevant Custom GPTs. For each, copy Instructions and supply your originals of any Knowledge files.
- List reusable prompts. Save them as one prompt per file inside a
prompts/directory.
End state: a chatgpt-export-coding/ folder with custom-instructions.txt, memory.txt, per-Custom-GPT subfolders, and prompts/.
Step 2: Import into Claude Code
Claude Code expects plain markdown files.
- Write
~/.claude/CLAUDE.md. Paste your ChatGPT Custom Instructions plus the most universal saved Memory entries. - Create
CLAUDE.mdat each relevant repo root. Paste coding-specific Custom GPT Instructions, restructured for that repo's stack. - Add Knowledge as repo docs. Place reference materials under
docs/in the repo and reference them insideCLAUDE.md. - Create
.claude/commands/<name>.mdfor each reusable prompt. Claude Code exposes them as/<name>. - Wire up MCP servers. If any Custom GPT relied on Actions, rebuild them as MCP servers and add them to Claude Code settings.
- Probe. Open Claude Code in the repo and run a small task or slash command.
What you'll still lose after migrating
- Browser-native conversation flow. You're now in a terminal — context handling feels different.
- Cross-chat Memory behavior. Claude Code reads
CLAUDE.mdper session; it doesn't auto-pull arbitrary facts the way ChatGPT Memory did. - Image and audio modes. Claude Code is text-centric.
- Ongoing sync. New ChatGPT memory added next week won't appear in
CLAUDE.mdunless you redo the copy.
The better way: one memory layer, every tool
If you still use ChatGPT for ideation and Claude Code for shipping, the per-tool drift starts immediately. Cross-repo standards end up in two places.
MemoryLake holds those rules once and exposes them through MCP. Claude Code reads MCP natively; ChatGPT can read the same MemoryLake project through a Custom GPT Action calling its REST endpoint.
- One source of truth. Update once; both tools see the change.
- Cross-repo standards. Team conventions live above any single repo.
- Drop-in for the next tool. Add Cursor or Windsurf later with a config change.
Connect MemoryLake in 3 steps
Step 1: Create a project and load your context
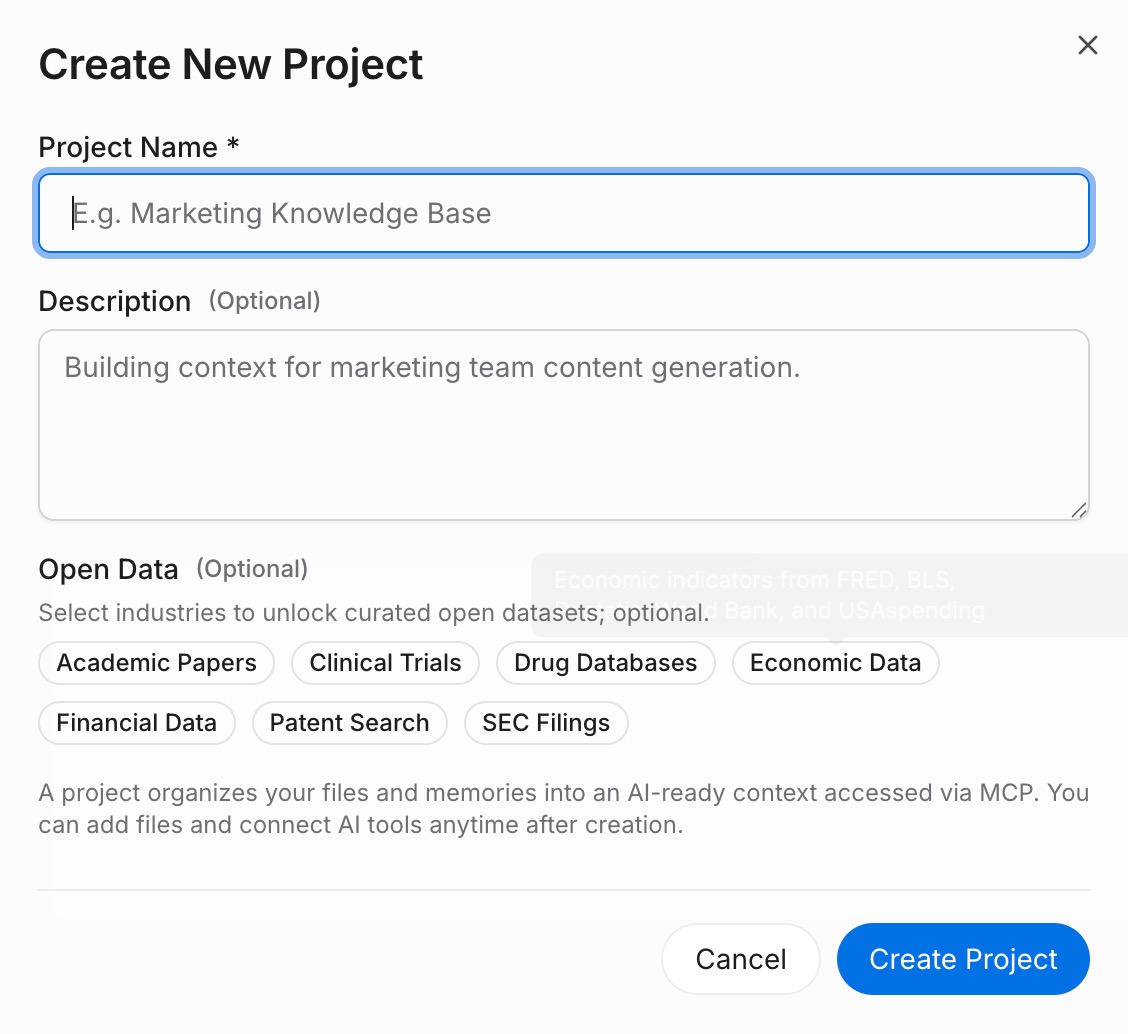
Sign in to MemoryLake, open Project Management, and click Create Project. Name it "ChatGPT ↔ Claude Code shared context." Drag reference docs (style guides, ADRs as PDF, Word, Markdown, or images) into the Document Drive under My Space, then open the Documents Tab and click Add Documents. Paste your ChatGPT Custom Instructions, Memory entries, and coding Custom GPT Instructions into the Memories Tab via Add Memory.
Step 2: Generate an MCP Server endpoint
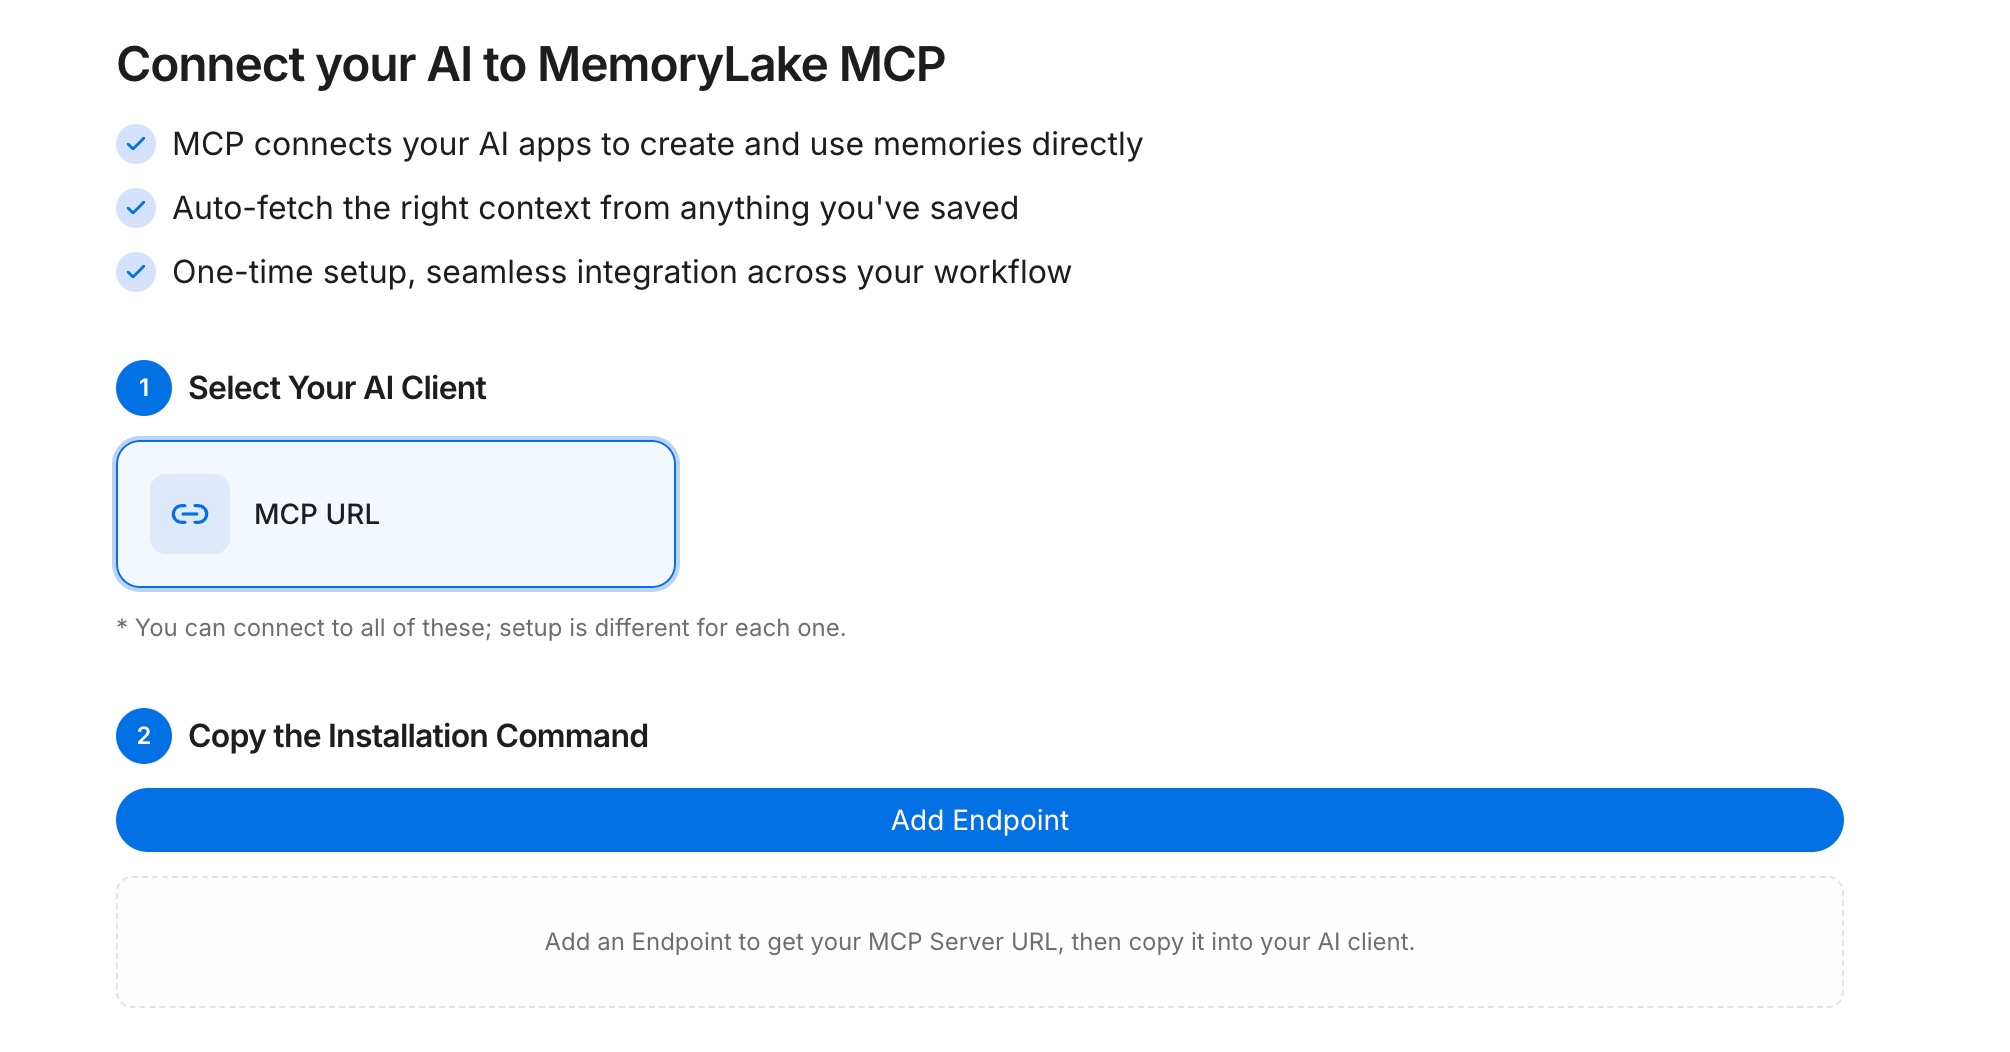
Open the MCP Servers Tab inside the project, click Add MCP Server, describe it (e.g., "ChatGPT + Claude Code bridge"), and click Generate. MemoryLake returns a Key ID, a Secret, and an Endpoint URL. Copy the Secret immediately — it is shown only once.
Step 3: Point both tools at the endpoint
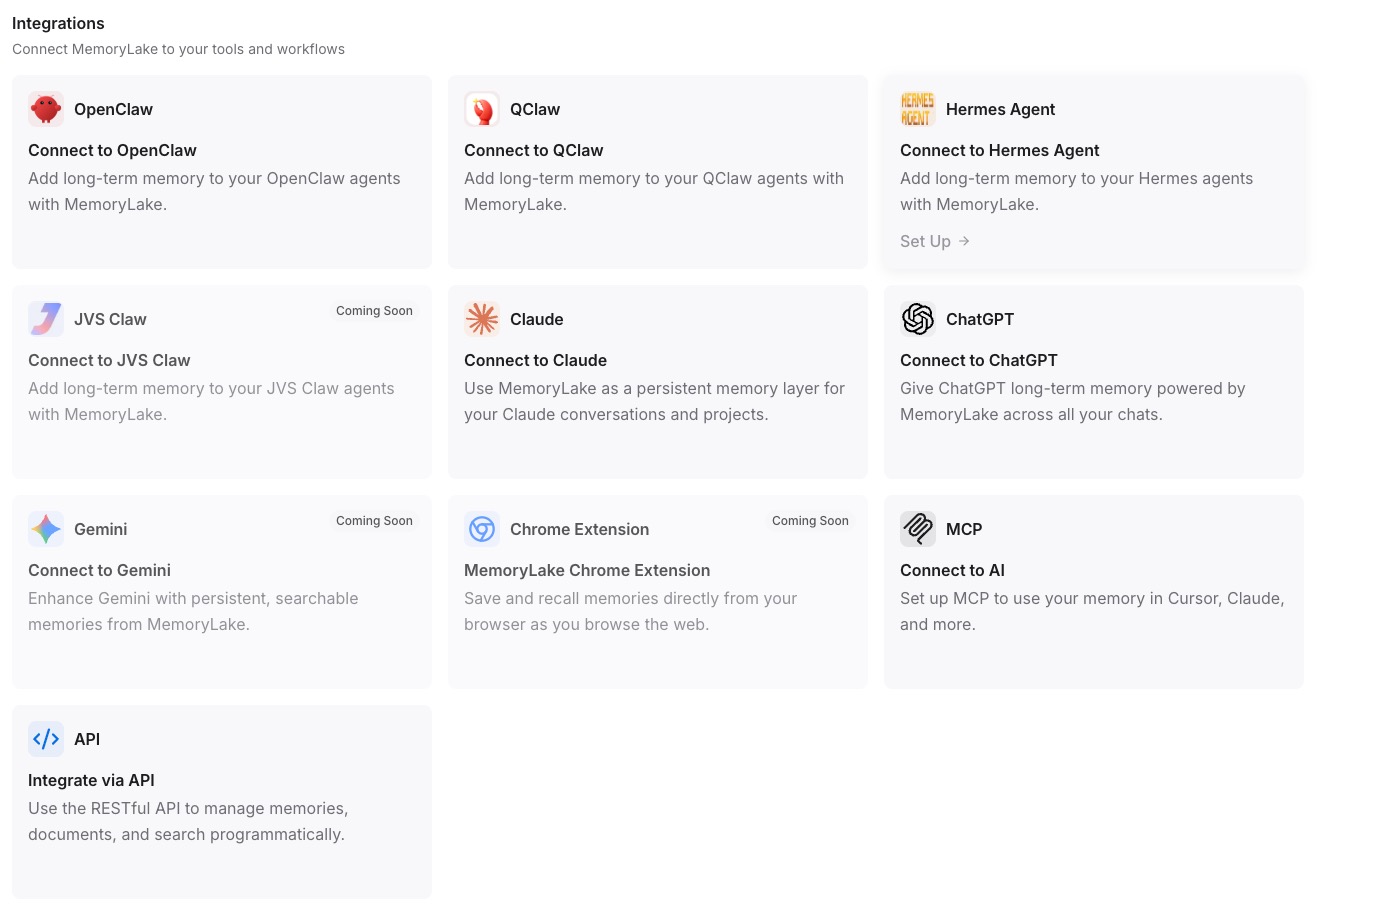
In Claude Code's settings, add a MemoryLake MCP server with the endpoint URL and the Secret as a Bearer token. For ChatGPT, configure a Custom GPT Action that calls the same REST endpoint with the Bearer token to fetch project memory.
Native migration vs MemoryLake
| Dimension | Native ChatGPT → Claude Code | MemoryLake bridge |
|---|---|---|
| Steps required | 8–11 manual | 3 one-time |
| Estimated time | 15–25 min per repo | ~5 min setup |
| Preserves cross-chat Memory | Partial (user-global only) | Yes (one Project) |
| Custom GPT Actions | Rebuild as MCP | MCP endpoint shared |
| Syncs ongoing changes | No | Yes |
| Works with a third tool later | No (rebuild) | Yes (add MCP) |