
The short answer
Notion AI has no native push to Claude. You'll export each relevant Notion page or database as Markdown or PDF, upload them as Project Knowledge in a Claude Project, and reconstruct any AI Block instructions as part of the Project's System Prompt. Plan 20–40 minutes per workspace area. A shared MCP-based memory layer like MemoryLake lets both tools read the same source.
Why people switch from Notion AI to Claude
Three drivers in 2026:
- Longer, deeper synthesis. Claude handles long workspace dumps and multi-document analysis more thoroughly.
- Project-scoped behavior. Claude Projects keep one body of context attached to every conversation cleanly.
- MCP-native ecosystem. Plugging into shared memory and tool servers is straightforward in Claude Desktop.
What "memory" means in Notion AI vs Claude
Different abstractions.
Notion AI memory is workspace-resident. Behavior depends on the pages you let it read, AI Blocks embedded inside pages, and Q&A configurations that scope its answers to specific subsets of the workspace.
Claude memory lives inside Projects. Each Project has its own Project Knowledge (uploaded files and pasted text) plus an optional System Prompt. Nothing is shared across Projects.
A Notion workspace area usually becomes a Claude Project. Pages become uploaded Markdown or PDF in Project Knowledge. AI Block instructions become System Prompt fragments.
Step 1: Export your Notion content
Notion exports pages individually or in bulk.
- Identify the workspace areas that drive AI use. Spec a list of databases and pages your Notion AI relied on.
- Export selected pages or databases. Use Notion's page menu (•••) → Export → Markdown & CSV (or PDF). For databases, export with subpages.
- Capture AI Block instructions. Open any AI Block in those pages and copy its prompt text into an
ai-blocks.md. - Capture Q&A configuration. If Notion AI Q&A has scoping configured, list which sources are in scope.
End state: a notion-export/ folder with Markdown/CSV/PDF for each area, plus ai-blocks.md and qa-scope.md.
Step 2: Import into Claude
Claude expects per-Project Knowledge.
- Create a Project per workspace area. Projects → Create Project.
- Upload exported files as Project Knowledge. Click Add Content → Upload Files. Add Markdown, PDF, or CSV for each area.
- Build a System Prompt from AI Block instructions and Q&A scope. Open the Project's Custom Instructions area and paste a consolidated prompt that captures the AI Block behaviors and the Q&A scoping rules.
- Validate. Ask a question that depends on a moved page to confirm Claude can see the content.
Claude does not read your Notion workspace live; uploads are static.
What you'll still lose after migrating
- Live workspace updates. Pages edited in Notion next week won't reach Claude until you re-export.
- In-page AI Block invocation. The contextual AI Block UX is a Notion affordance.
- Q&A scoping behavior. Claude reads the whole Project Knowledge; nuanced "answer only from X" routing needs rebuilding via System Prompt instructions.
- Ongoing sync. A snapshot today doesn't propagate later workspace changes.
The better way: one memory layer, every tool
If you keep Notion as your workspace of record and use Claude for synthesis, per-tool drift starts immediately. Cross-workspace standards end up in two places.
MemoryLake holds your documents and rules once and exposes them through MCP. Claude Desktop reads MCP natively, so the same content flows in.
- One source of truth. Update content in MemoryLake; Claude sees the change.
- Standard file formats. PDFs, Word, Excel, PowerPoint, Markdown, and images live in MemoryLake's Document Drive as-is.
- Drop-in for the next AI. Add ChatGPT or Gemini later with a config change.
Connect MemoryLake in 3 steps
Step 1: Create a project and load your context
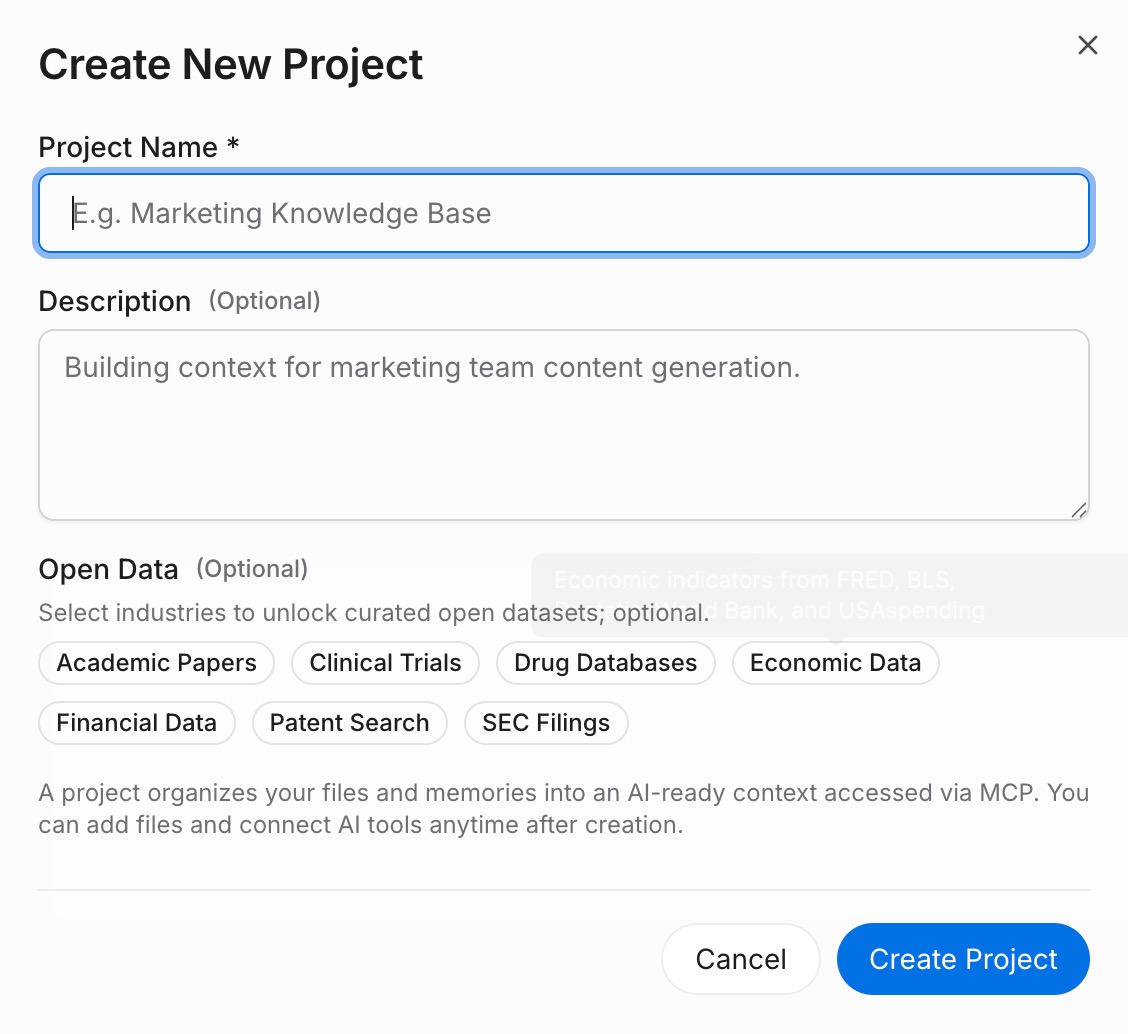
Sign in to MemoryLake, open Project Management, and click Create Project. Name it "Notion ↔ Claude shared context." Drag your exported Notion files (PDF, Markdown, or images) into the Document Drive under My Space, then open the Documents Tab and click Add Documents. Paste your AI Block instructions and Q&A scope notes into the Memories Tab via Add Memory.
Step 2: Generate an MCP Server endpoint
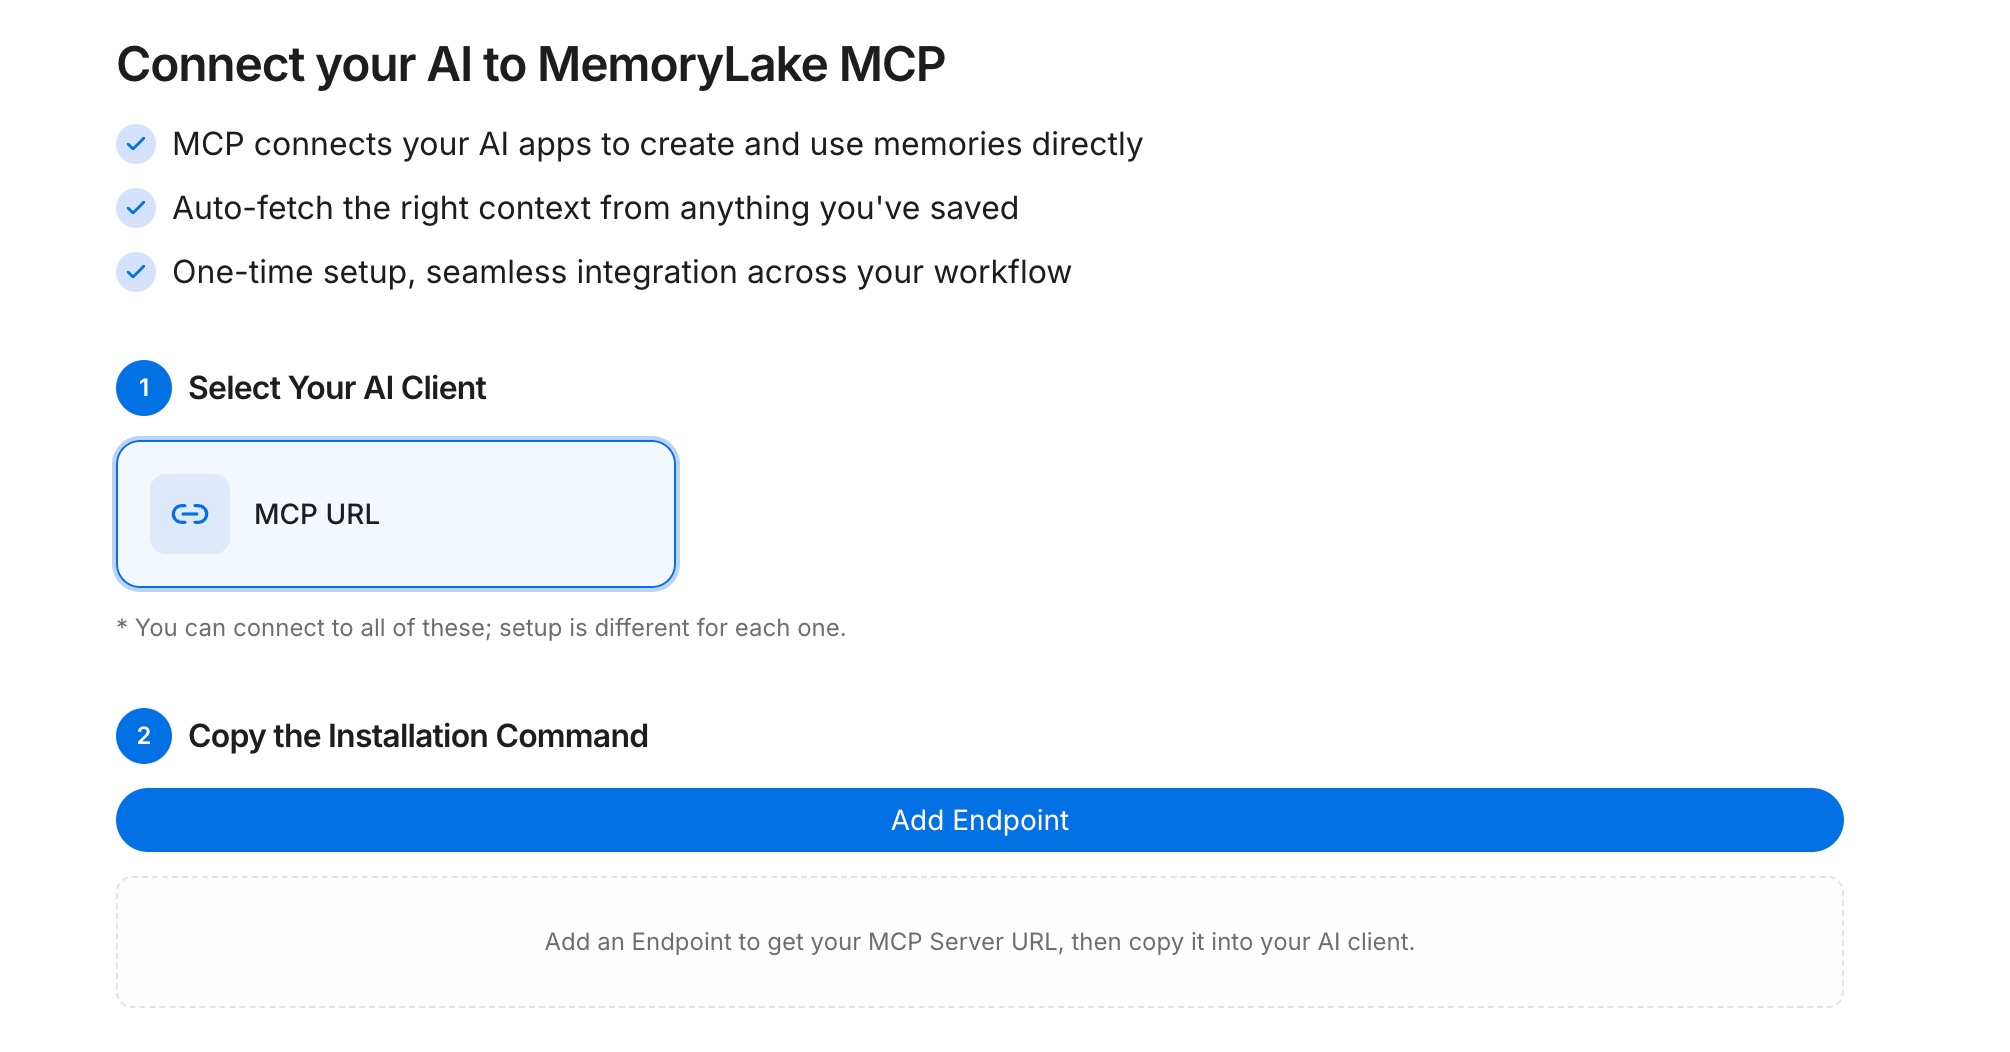
Open the MCP Servers Tab inside the project, click Add MCP Server, describe it (e.g., "Notion + Claude bridge"), and click Generate. MemoryLake returns a Key ID, a Secret, and an Endpoint URL. Copy the Secret immediately — it is shown only once.
Step 3: Point Claude at the endpoint and refresh from Notion regularly
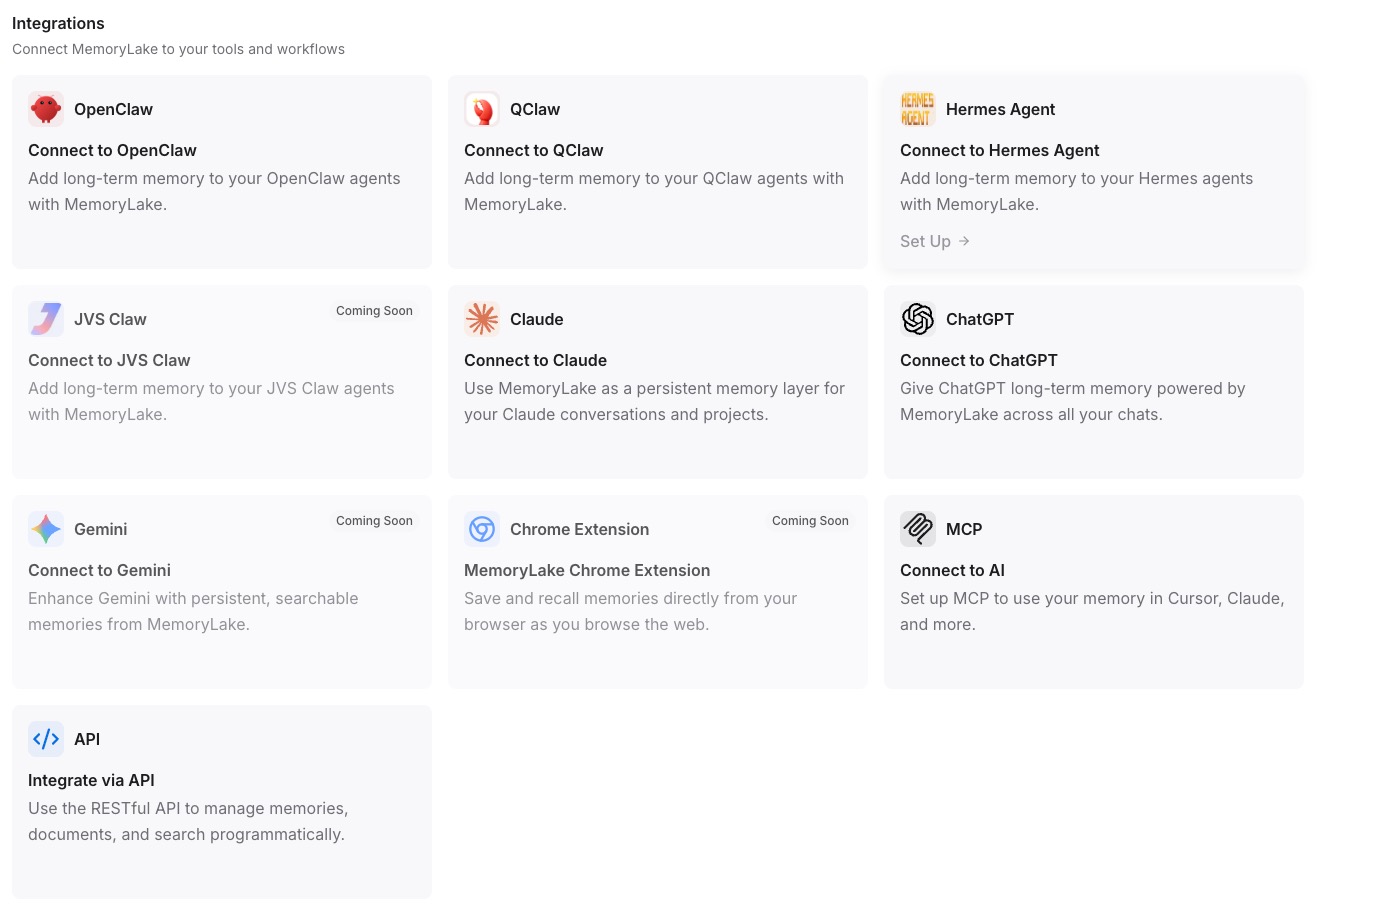
Add MemoryLake to Claude Desktop's MCP config with the endpoint URL and the Secret as a Bearer token, then restart Claude. When you make significant Notion updates, re-export and re-upload to keep MemoryLake current.
Native migration vs MemoryLake
| Dimension | Native Notion → Claude | MemoryLake bridge |
|---|---|---|
| Steps required | 7–10 manual | 3 one-time |
| Estimated time | 20–40 min per workspace area | ~5 min setup |
| Preserves AI Block behavior | Manual (System Prompt) | Memories survive verbatim |
| Live workspace sync | No | Re-upload on update |
| Syncs ongoing changes | No | Yes (within MemoryLake) |
| Works with a third AI later | No (rebuild) | Yes (add MCP) |