
The short answer
ChatGPT has no native push to Claude Projects. You'll copy Custom Instructions and saved Memory entries out of ChatGPT manually, then split that context across one or more Claude Projects — each with its own System Prompt and Project Knowledge. Plan 20–35 minutes for the first Project, faster for subsequent ones. Chat history doesn't transfer. A shared MCP-based memory layer like MemoryLake lets both tools read the same source.
Why people switch from ChatGPT to Claude Projects
Three drivers in 2026:
- Scoped context. Users want a clean wall between unrelated topics rather than a global Memory that leaks everywhere.
- Long-document handling. Claude Projects load long Knowledge attachments with fewer truncation issues.
- MCP-native tooling. Claude Desktop's MCP support is increasingly important for teams using shared memory layers and tool servers.
What "memory" means in ChatGPT vs Claude Projects
The two memory models differ in scope.
ChatGPT memory spans Custom Instructions (global), Memory (saved facts pulled across every chat), and Custom GPTs (project-like containers with their own instructions and Knowledge).
Claude Projects are containers with Project Knowledge (uploaded files and pasted text) plus an optional System Prompt. Nothing is shared across Projects — context is local to each one.
A ChatGPT Custom GPT typically becomes a Claude Project. Global Memory entries usually get duplicated into every Project they're relevant to, or condensed into a baseline Project that you copy from.
Step 1: Export your ChatGPT memory
ChatGPT has no single memory export.
- Copy Custom Instructions. Profile → Settings → Personalization → Custom Instructions. Paste both fields into a text file.
- Copy each saved Memory entry. Same page → Memory. Paste every row into the same text file.
- List your Custom GPTs. For each Custom GPT, copy its name, Instructions, and Knowledge files into a folder per GPT.
- Optional data export. Settings → Data Controls → Export Data. The ZIP holds chat transcripts as an archive.
End state: a chatgpt-export/ folder with custom-instructions.txt, memory.txt, and one subfolder per Custom GPT.
Step 2: Import into Claude Projects
Claude expects per-Project Knowledge.
- Create one Project per Custom GPT (and a "default" Project for everything else). Open Projects → Create Project. Name each after the corresponding Custom GPT, plus one general-purpose Project.
- Paste Instructions as System Prompts. Each Project's Custom Instructions area receives the matching Custom GPT's Instructions, or your shortened global Custom Instructions for the default Project.
- Upload Knowledge files as Project Knowledge. Drag in original files from each Custom GPT's folder.
- Decide where global Memory entries go. Short universal facts (preferences, identity) belong in every Project's System Prompt. Topic-specific facts go into the matching Project's Knowledge.
- Validate. Open each Project and probe with a question that depends on a moved file or fact.
Claude does not import ChatGPT chat history.
What you'll still lose after migrating
- Cross-chat Memory behavior. Claude doesn't auto-pull facts across Projects. Re-add anything that should be everywhere.
- Custom GPT Capabilities. Web browsing, code interpreter, and image generation come from ChatGPT and don't transfer.
- Custom GPT Actions. Each Action needs rebuilding as an MCP server on Claude's side.
- Ongoing sync. A snapshot today doesn't propagate new ChatGPT memory into Claude.
The better way: one memory layer, every AI
Each migration repeats the same work because memory lives inside each AI. The fix is to put memory outside any one AI.
MemoryLake stores your context once and exposes it through MCP. ChatGPT (via a Custom GPT Action) and Claude (via Desktop's MCP) read from the same MemoryLake Project through a single endpoint.
- One source of truth. Update once; both sides see the change.
- Drop-in for the next AI. Add Gemini or a coding agent later with a config change.
- Originals preserved. Files live in MemoryLake's Document Drive in native formats.
Connect MemoryLake in 3 steps
Step 1: Create a project and load your context
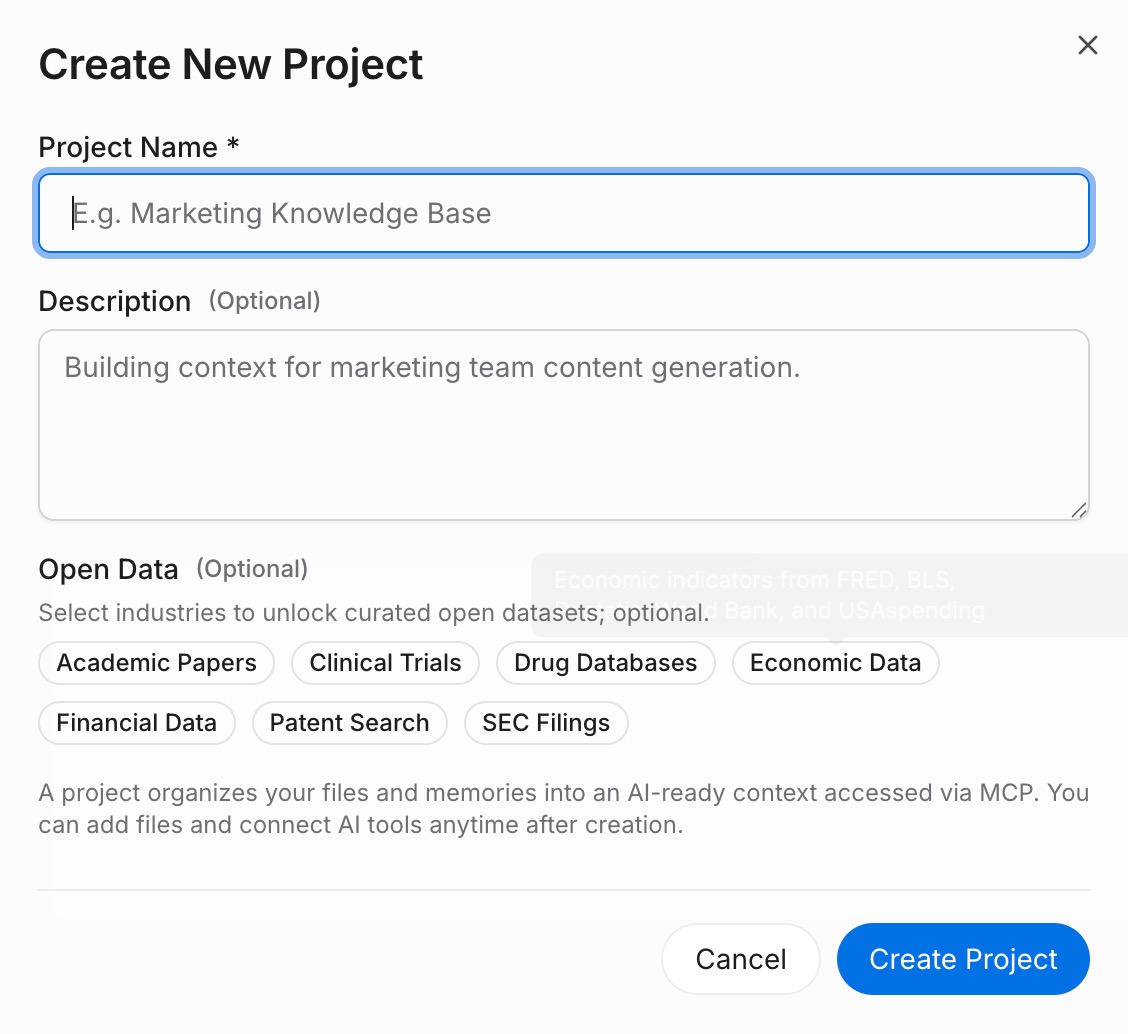
Sign in to MemoryLake, open Project Management, and click Create Project. Name it "ChatGPT ↔ Claude Projects shared context." Drag your existing files (PDF, Word, Excel, PowerPoint, Markdown, or images) into the Document Drive under My Space, then open the Documents Tab and click Add Documents. Paste your ChatGPT Custom Instructions and saved Memory entries into the Memories Tab via Add Memory.
Step 2: Generate an MCP Server endpoint
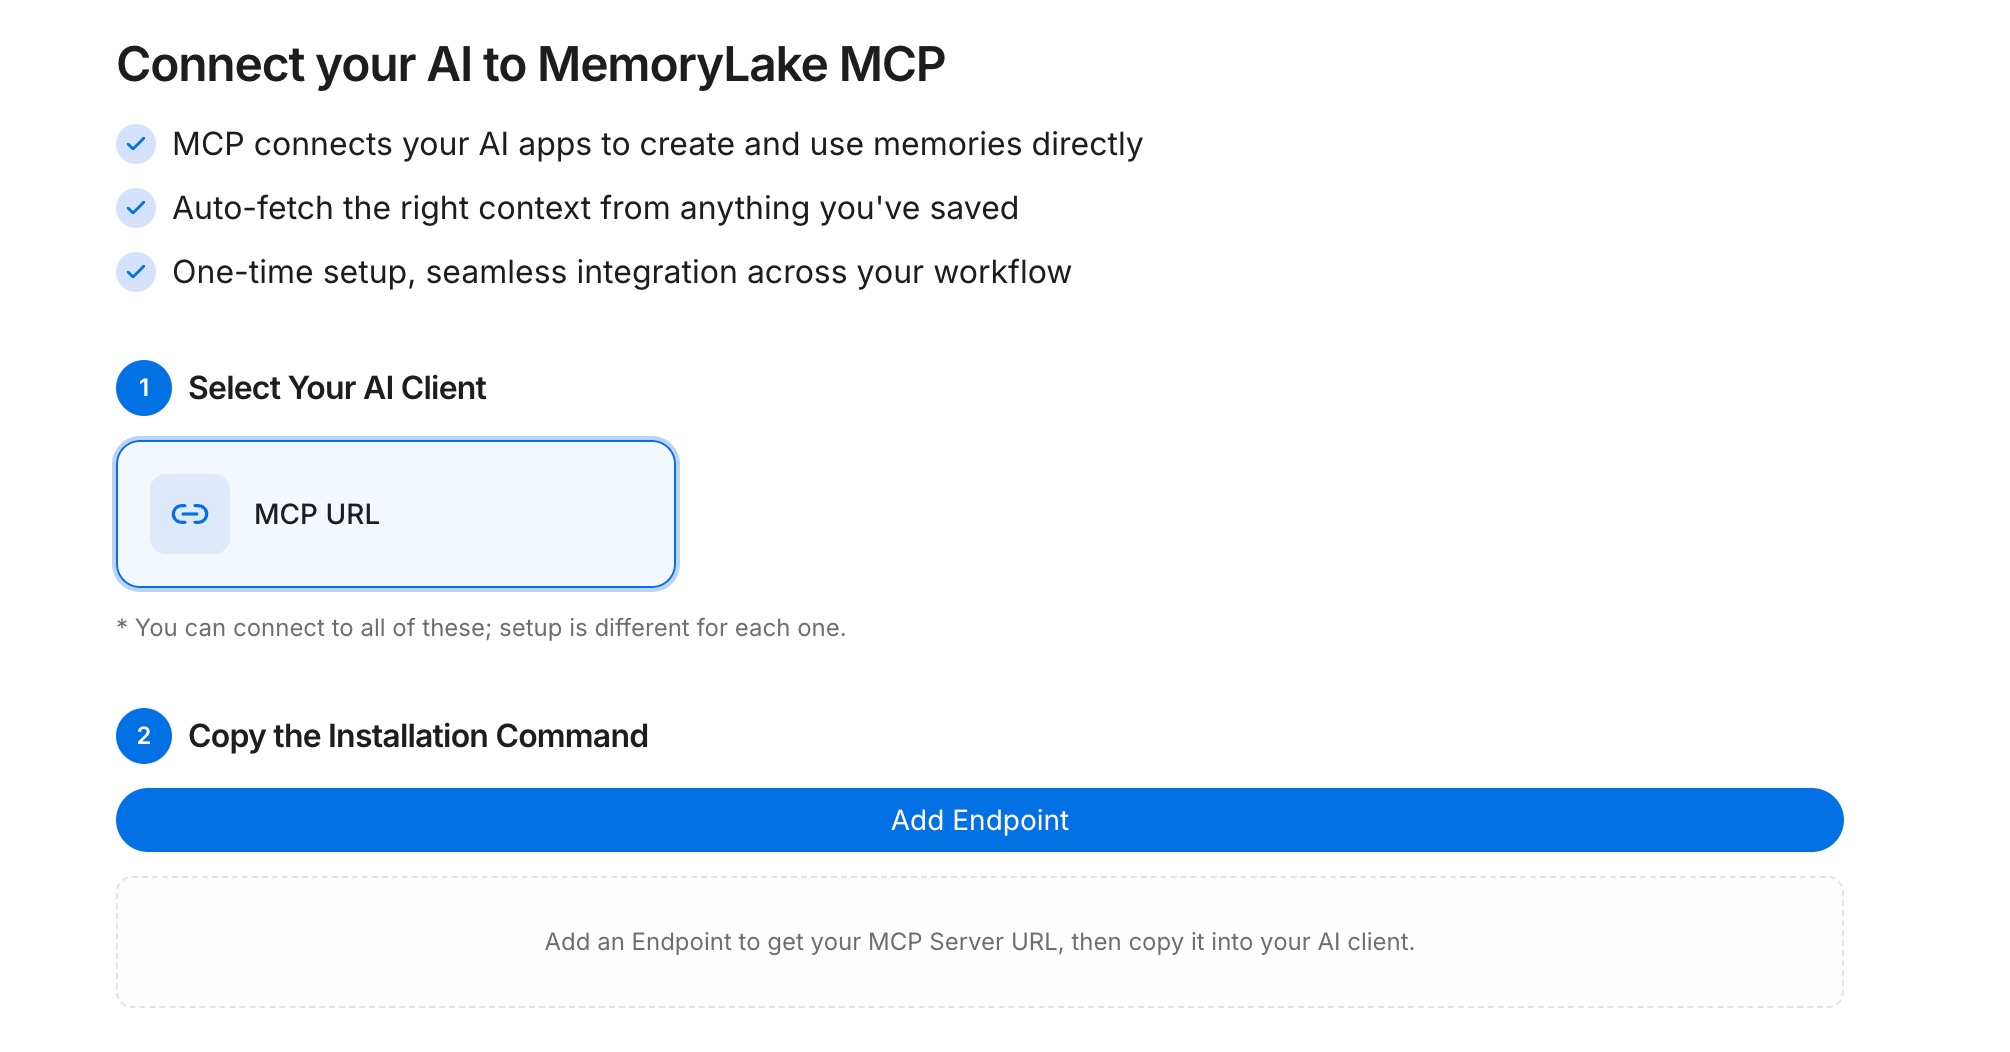
Open the MCP Servers Tab inside the project, click Add MCP Server, describe it (e.g., "ChatGPT + Claude Projects bridge"), and click Generate. MemoryLake returns a Key ID, a Secret, and an Endpoint URL. Copy the Secret immediately — it is shown only once.
Step 3: Point both tools at the endpoint
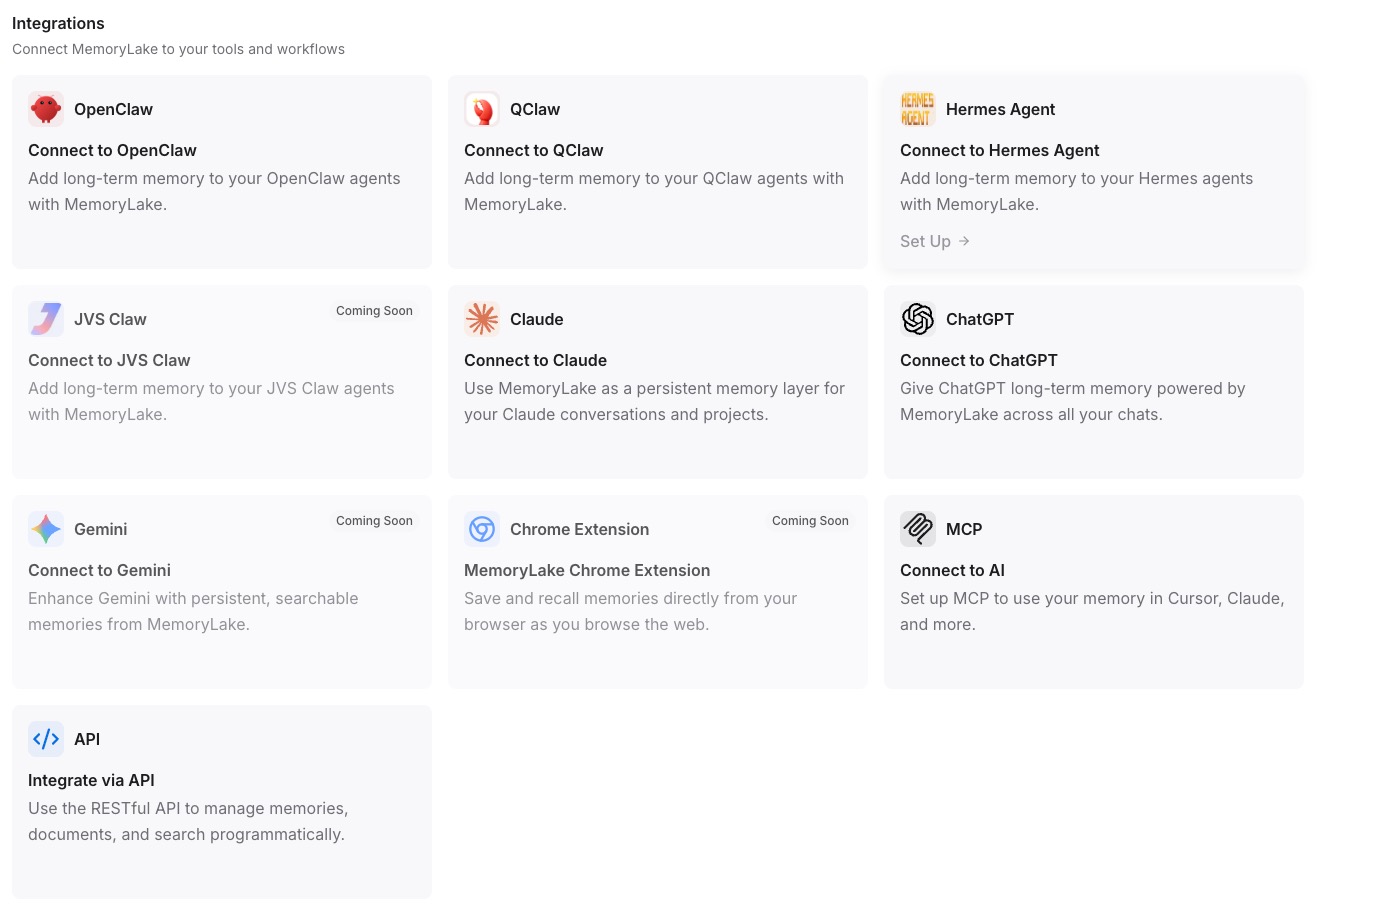
Add MemoryLake to Claude Desktop's MCP config with the endpoint URL and the Secret as a Bearer token, then restart Claude. For ChatGPT, configure a Custom GPT Action that calls the same REST endpoint with the Bearer token so each chat can fetch project memory.
Native migration vs MemoryLake
| Dimension | Native ChatGPT → Claude Projects | MemoryLake bridge |
|---|---|---|
| Steps required | 8–11 manual | 3 one-time |
| Estimated time | 20–35 min per Project | ~5 min setup |
| Preserves Custom GPT → Project boundary | Yes (manual) | Yes (one Project) |
| Preserves cross-chat Memory | No (re-add per Project) | Yes (shared once) |
| Syncs ongoing changes | No | Yes |
| Works with a third AI later | No (rebuild) | Yes (add MCP) |