
The short answer
Gemini does not push to Claude Projects directly. You'll copy each Saved Info entry, transcribe each Gem's instructions, and download Workspace files Gemini was reading, then rebuild each Gem as a Claude Project with a System Prompt and Project Knowledge. Plan 25–50 minutes per workspace. Chat history doesn't move. A shared MCP-based memory layer like MemoryLake lets both tools read the same source.
Why people switch from Gemini to Claude Projects
Three drivers in 2026:
- Scoped Project boundaries. Claude Projects keep unrelated topics walled off in a way Gems and Saved Info don't.
- Long-document fidelity. Claude handles long Knowledge attachments cleanly.
- MCP-native ecosystem. Claude Desktop's MCP support matters for teams using shared memory layers and tool servers.
What "memory" means in Gemini vs Claude Projects
Different surfaces.
Gemini memory spans Saved Info (short snippets, account-wide), Gems (custom personas with their own instructions and optional referenced files), and Past Chats / Activity (governed by Activity controls).
Claude Projects are containers with Project Knowledge (uploaded files and pasted text) plus an optional System Prompt. Nothing is shared across Projects.
A Gem usually becomes a Project. Saved Info becomes Project Knowledge bullets in a shared facts.md. Workspace files get downloaded and uploaded.
Step 1: Export your Gemini memory
Gemini has no bundled memory export.
- Copy each Saved Info entry. Gemini settings → Saved Info. Paste each entry into one text file.
- Transcribe each Gem. Gem Manager. For every Gem, copy name, instructions, and referenced files into a folder per Gem.
- Collect Workspace files. Download originals (File → Download → PDF, DOCX, XLSX, or Markdown).
- Export Google Activity (optional). Google Takeout → My Activity → Gemini Apps. Archive only.
End state: a gemini-export/ folder with saved-info.txt and one subfolder per Gem.
Step 2: Import into Claude Projects
Claude expects per-Project Knowledge.
- Create a Project per Gem. Open Projects → Create Project. Name it after the Gem.
- Paste the Gem's instructions as the System Prompt. Adapt references — "Gemini" should read "Claude."
- Upload Workspace files as Project Knowledge. Click Add Content → Upload Files and attach the downloaded files.
- Decide where Saved Info entries belong. Per-Project facts go into that Project's Knowledge
facts.md. Account-wide facts get duplicated into each Project that needs them — Claude has no global Memory layer. - Validate. Open the Project and ask a question that depends on a moved file or fact.
Claude doesn't replay Gemini transcripts.
What you'll still lose after migrating
- Live Workspace pull. Claude doesn't read your Google Drive in real time — files become static snapshots.
- Cross-Gem facts. Saved Info applied account-wide; you'll re-add the same fact to every Project that needs it.
- Activity-derived hints. Gemini's Past Chats / Activity is opaque; you can't replicate its implicit context cues.
- Ongoing sync. A snapshot today doesn't propagate later Gemini updates into Claude.
The better way: one memory layer, every AI
The structural cost is the per-tool walls. The fix is to hold memory outside any single AI.
MemoryLake stores your context once and exposes it through MCP. Gemini and Claude can both read from the same MemoryLake Project through a single endpoint.
- One source of truth. Update once; both sides see the change.
- Drop-in for the next AI. Add ChatGPT or a coding agent later with a config change.
- Originals preserved. Files live in MemoryLake's Document Drive in native formats.
Connect MemoryLake in 3 steps
Step 1: Create a project and load your context
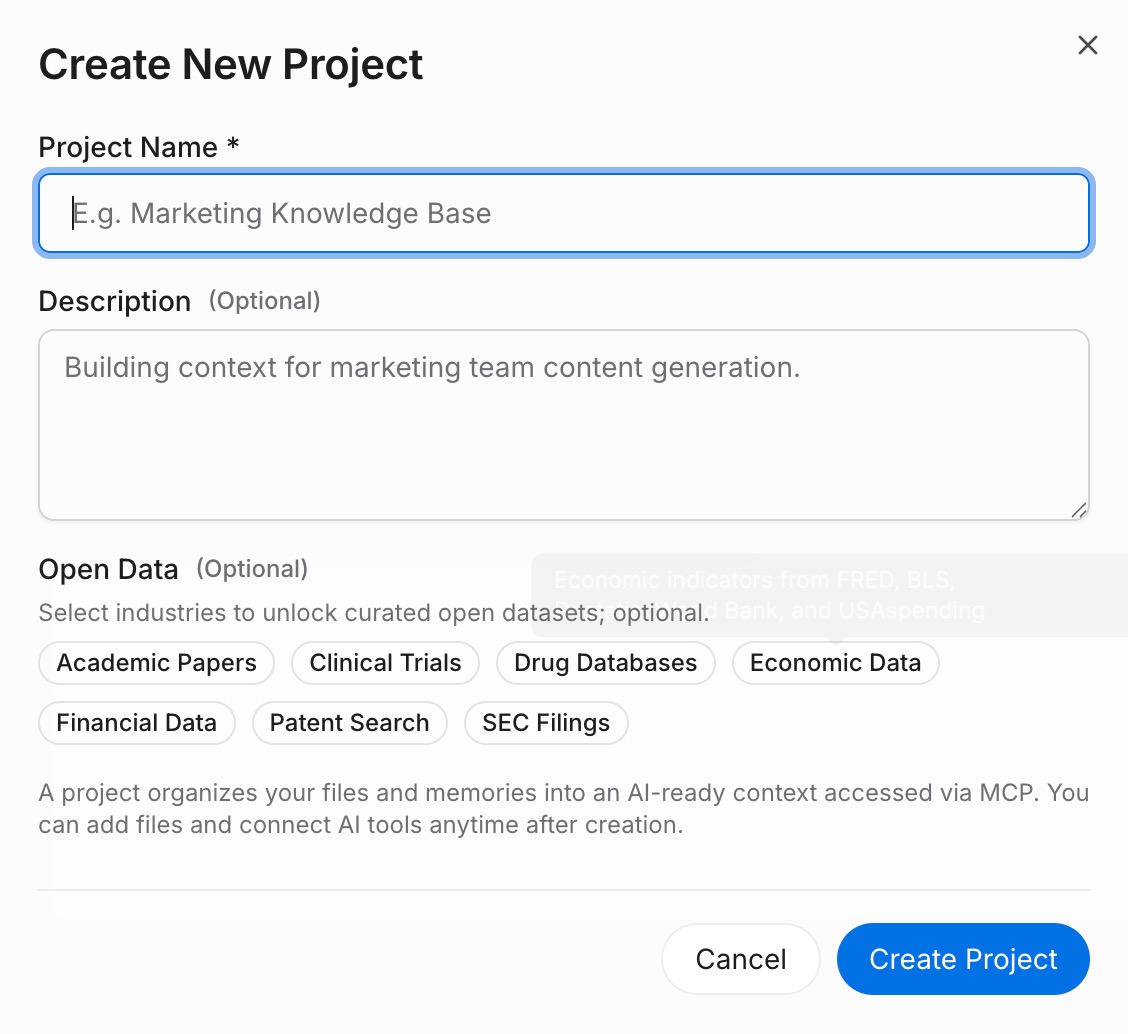
Sign in to MemoryLake, open Project Management, and click Create Project. Name it "Gemini ↔ Claude Projects shared context." Drag your downloaded Gemini files (PDF, Word, Excel, PowerPoint, Markdown, or images) into the Document Drive under My Space, then open the Documents Tab and click Add Documents. Paste each Gem's instructions and your Saved Info entries into the Memories Tab via Add Memory.
Step 2: Generate an MCP Server endpoint
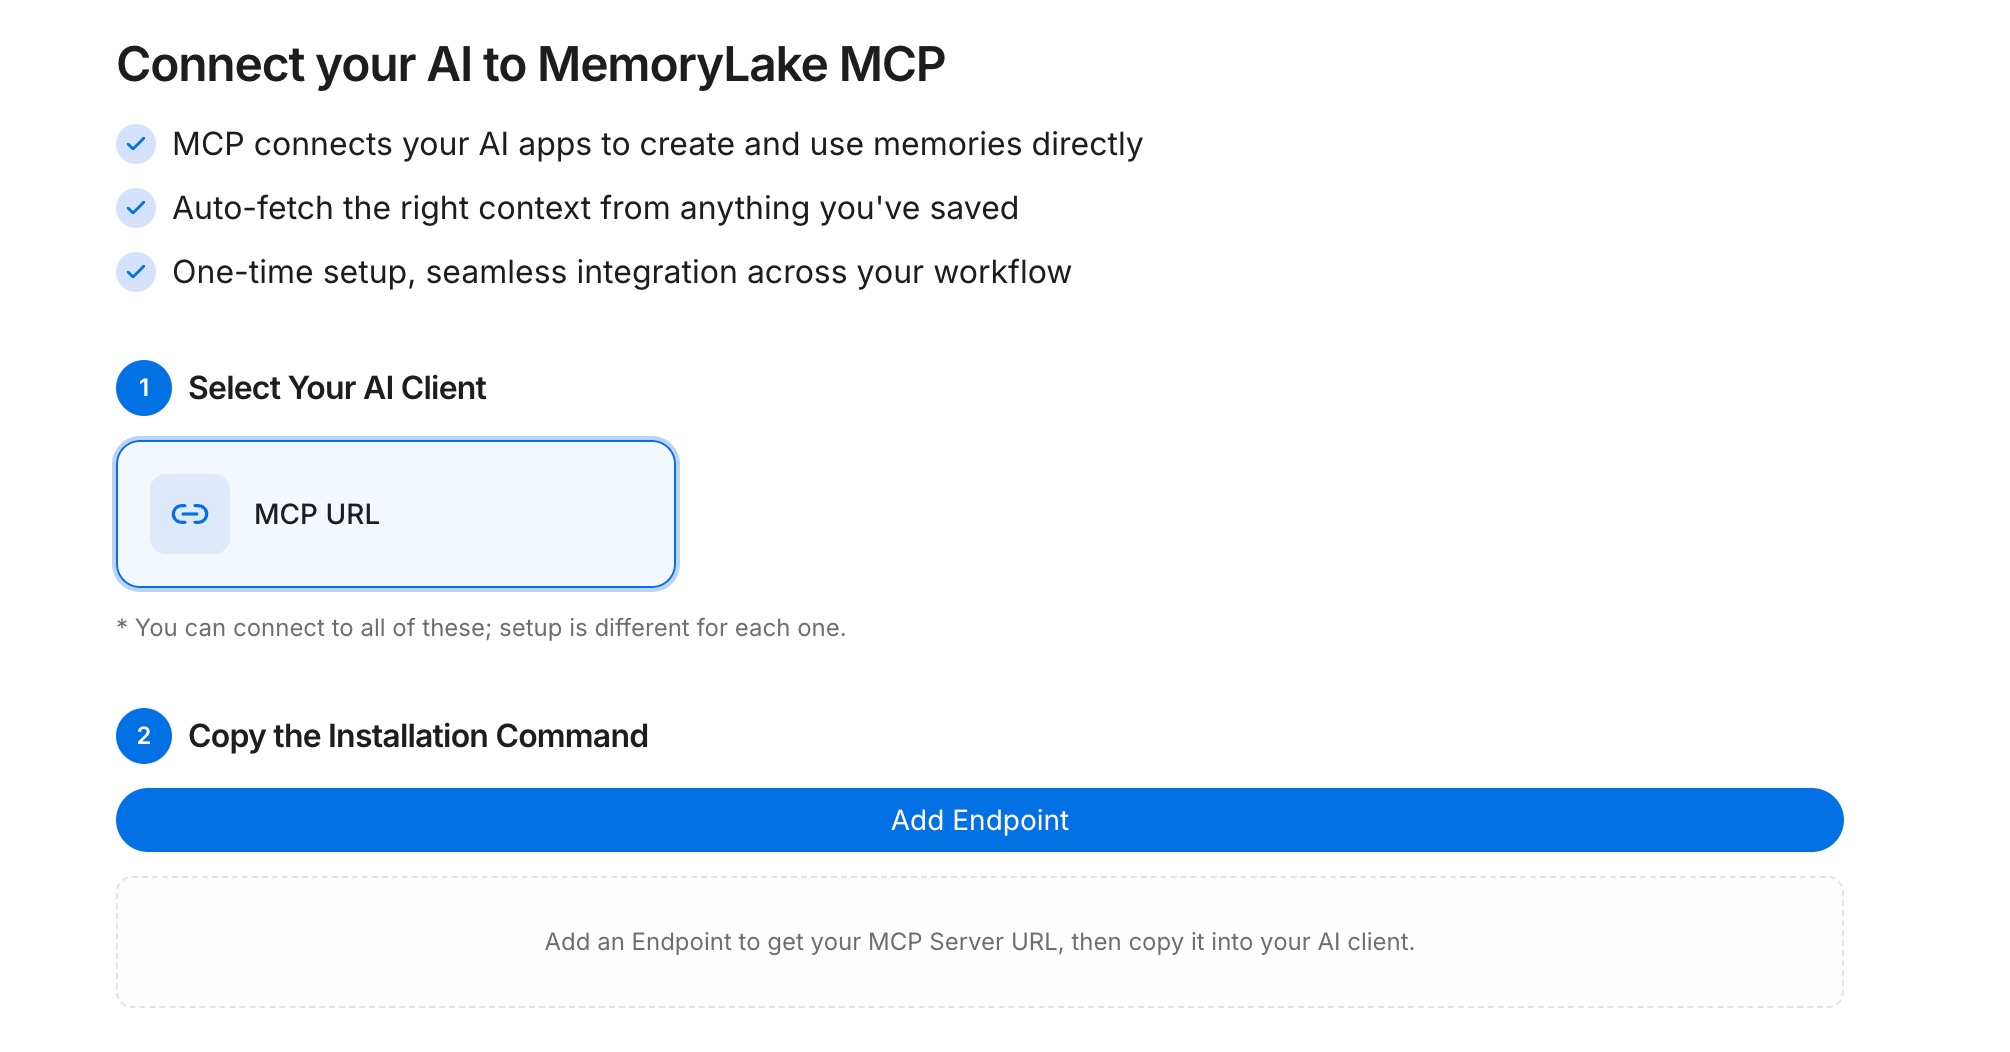
Open the MCP Servers Tab inside the project, click Add MCP Server, describe it (e.g., "Claude + Gemini bridge"), and click Generate. MemoryLake returns a Key ID, a Secret, and an Endpoint URL. Copy the Secret immediately — it is shown only once.
Step 3: Point both tools at the endpoint
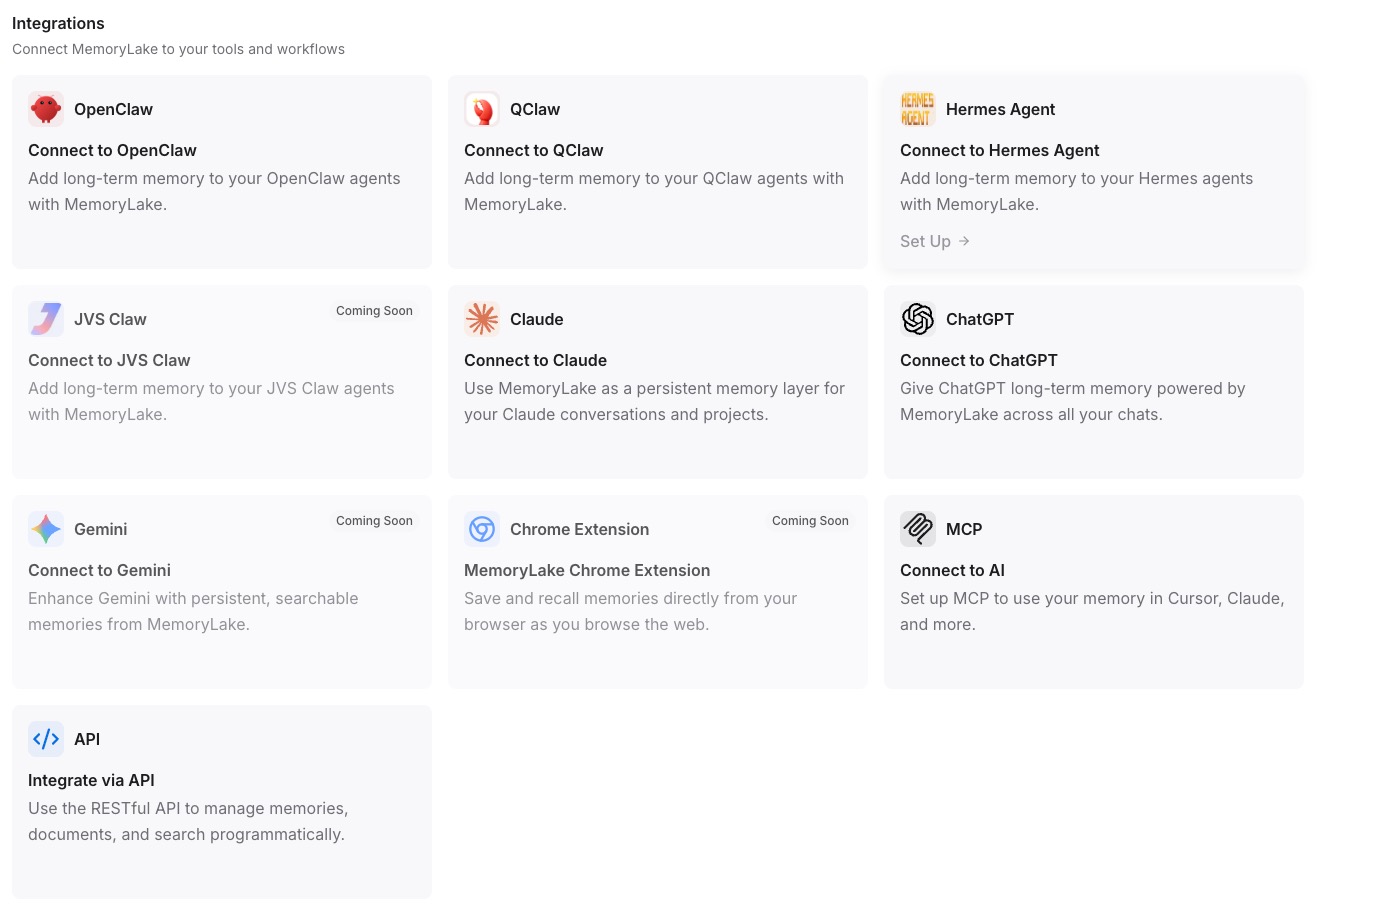
Add MemoryLake to Claude Desktop's MCP config with the endpoint URL and the Secret as a Bearer token, then restart Claude. For Gemini, run a Workspace add-on or external integration that calls the same REST endpoint with the Bearer token and injects the returned context into a Gem's instructions or your prompt.
Native migration vs MemoryLake
| Dimension | Native Gemini → Claude Projects | MemoryLake bridge |
|---|---|---|
| Steps required | 9–12 manual | 3 one-time |
| Estimated time | 25–50 min per workspace | ~5 min setup |
| Preserves Gem → Project boundary | Yes (manual) | Yes (one Project) |
| Live Workspace pull | Lost | Files in MemoryLake, both fetch live |
| Syncs ongoing changes | No | Yes |
| Works with a third AI later | No (rebuild) | Yes (add MCP) |