
The short answer
Claude has no native push to Windsurf. You'll download each Project's Knowledge files, copy each System Prompt into a .windsurfrules at the matching repo root (with cross-repo guidance going into Windsurf's global rules), and convert reusable prompts into Cascade memories. Plan 20–35 minutes per Project. A shared MCP-based memory layer like MemoryLake lets both tools read the same source.
Why people switch from Claude to Windsurf
Three drivers in 2026:
- Cascade agent workflow. Multi-file edits stay coherent inside one Cascade run.
- In-IDE visual diff and review. Inline visual review beats reading patches in a chat UI.
- Repo-aware grounding. Windsurf reads your codebase by default; Claude Projects need uploads.
What "memory" means in Claude vs Windsurf
Different scopes.
Claude memory lives inside Projects. Each Project has its own Project Knowledge (uploaded files and pasted text) and an optional System Prompt.
Windsurf memory spans .windsurfrules (project-level rules), global rules (user-level), and Cascade memory (persistent memories saved during agentic work).
A Project's System Prompt becomes .windsurfrules. Project Knowledge becomes repo docs/. Cross-Project guidance becomes Windsurf's global rules. Reusable prompts become Cascade memories.
Step 1: Export your Claude memory
Claude has no Project-export bundle.
- Capture each Project's System Prompt. Open the Project → Project Instructions. Copy the contents into a text file labelled with the Project name.
- Download Project Knowledge files. Click each file and download originals. Re-upload from local copies if available.
- Copy pasted-text knowledge. Save into a
notes.mdper Project. - List recurring prompts. Capture them in
prompts.md.
End state: one folder per Claude Project with the System Prompt, original files, notes.md, and prompts.md.
Step 2: Import into Windsurf
Windsurf expects per-repo and user-level configuration.
- Map each Project to a repo. If a Project corresponds to a single codebase, target that repo. For broader Projects, pick a primary repo plus global rules.
- Create
.windsurfrulesat the repo root. Paste the Project System Prompt, adapted for repo-specific concerns. - Add Knowledge as repo docs. Place downloaded files under
docs/(or a similar folder) and reference them inside.windsurfrules. - Set global rules. Open Windsurf settings and paste cross-Project guidance into the global rules area.
- Translate reusable prompts into Cascade memories. Open Cascade during a session and save each prompt as a memory via the Memories panel.
- Re-add MCP servers. Open Windsurf's MCP configuration and add MCP servers you used in Claude Desktop with endpoints and Bearer tokens.
- Probe. Open Cascade and run a small task that depends on a moved rule.
What you'll still lose after migrating
- Project-scoped chat threads. Claude conversations stay in Claude; Cascade runs live in Windsurf.
- System Prompt length tolerance. Long Claude prompts may need trimming for
.windsurfrules. - MCP-based tool depth. Each MCP server is configured per client; the wiring repeats.
- Ongoing sync. New Project Knowledge in Claude next week won't appear in
.windsurfrulesunless you redo the copy.
The better way: one memory layer, every tool
If you keep Claude for design conversation and Windsurf for coding, the per-tool drift starts immediately. Cross-repo standards end up in two places.
MemoryLake holds those rules once and exposes them through MCP. Both Claude Desktop and Windsurf support MCP, so the same project context flows into both from a single endpoint.
- One source of truth. Update once; both tools see the change.
- Cross-repo standards. Team conventions live above any single repo.
- Drop-in for the next tool. Add Cursor or Claude Code with a config change.
Connect MemoryLake in 3 steps
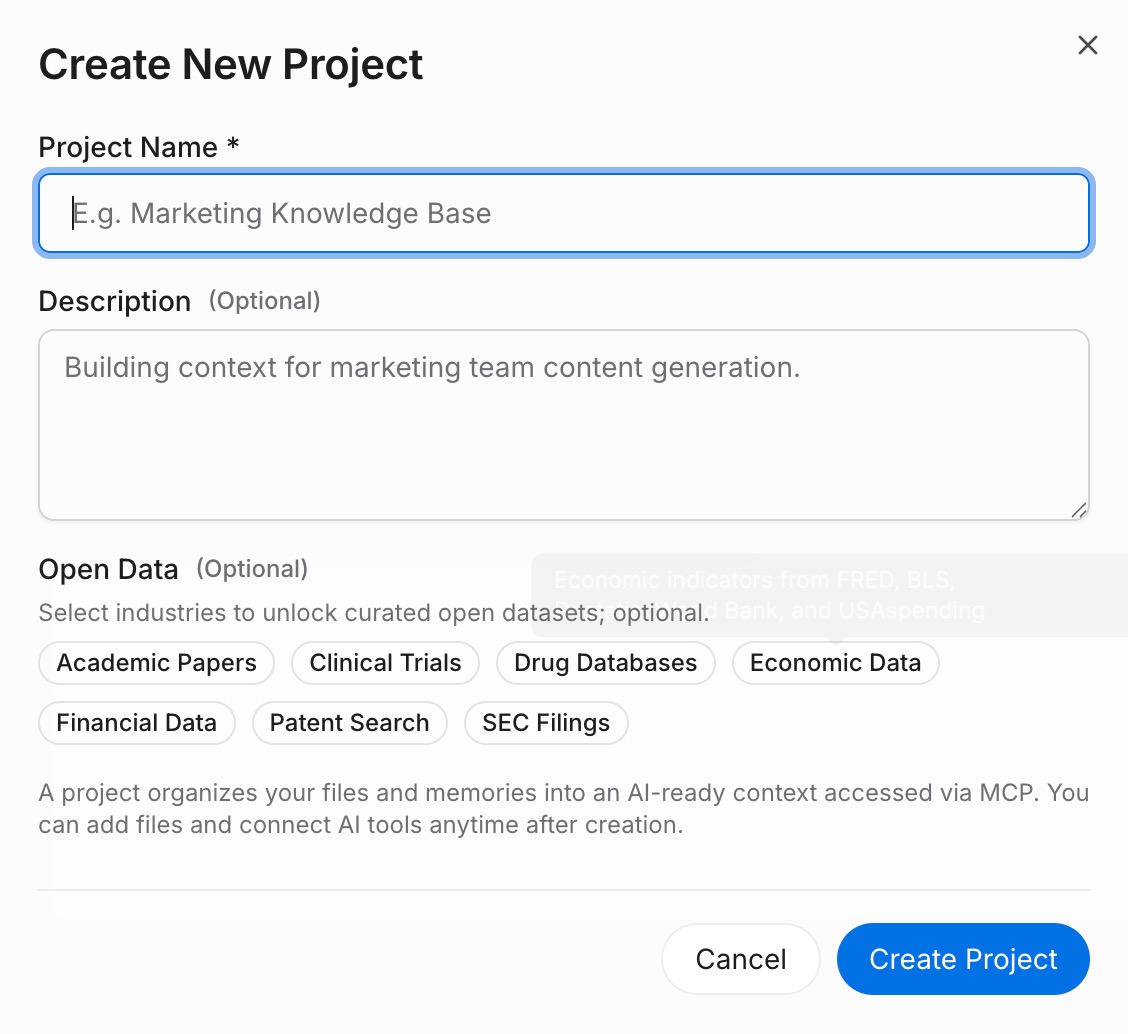
Step 1: Create a project and load your context
Sign in to MemoryLake, open Project Management, and click Create Project. Name it "Claude ↔ Windsurf shared context." Drag your downloaded Claude files (PDF, Word, Excel, PowerPoint, Markdown, or images) into the Document Drive under My Space, then open the Documents Tab and click Add Documents. Paste each System Prompt and your reusable prompts into the Memories Tab via Add Memory.
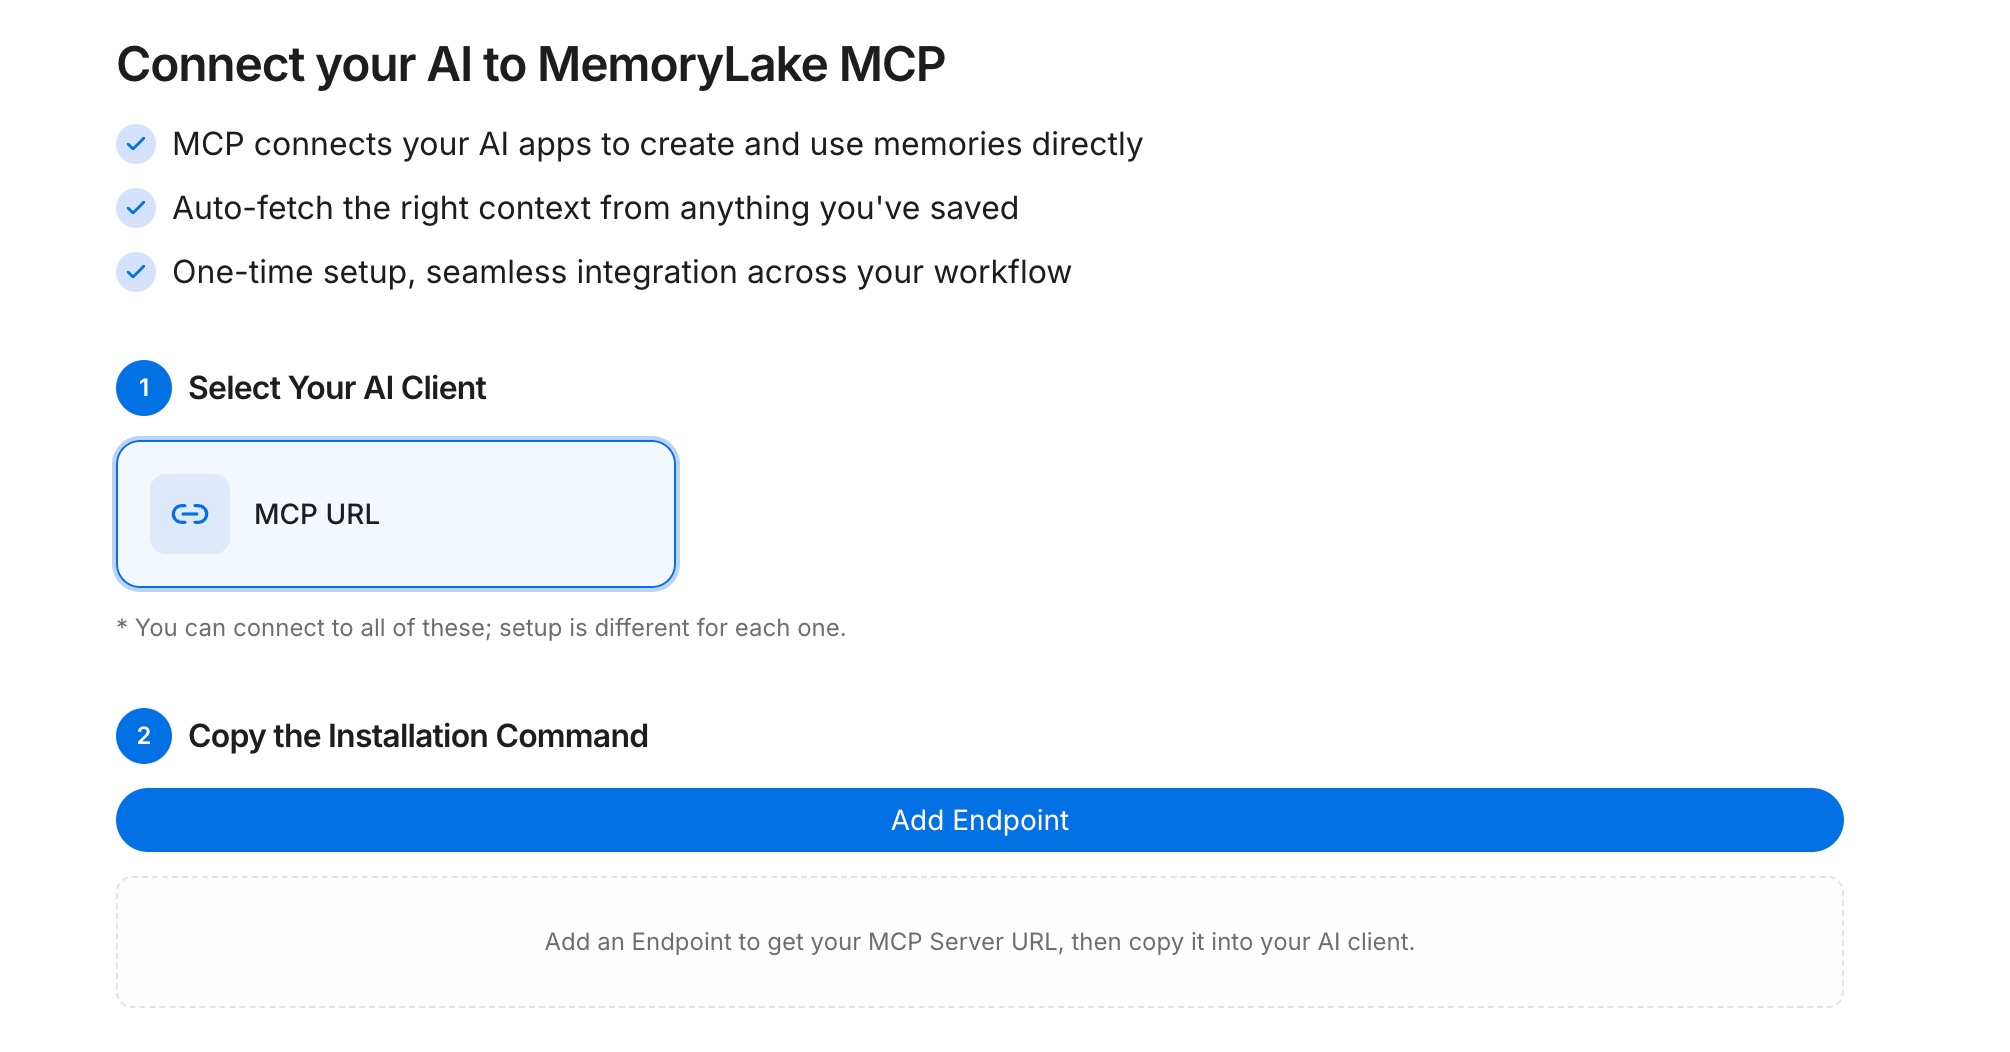
Step 2: Generate an MCP Server endpoint
Open the MCP Servers Tab inside the project, click Add MCP Server, describe it (e.g., "Claude + Windsurf bridge"), and click Generate. MemoryLake returns a Key ID, a Secret, and an Endpoint URL. Copy the Secret immediately — it is shown only once.
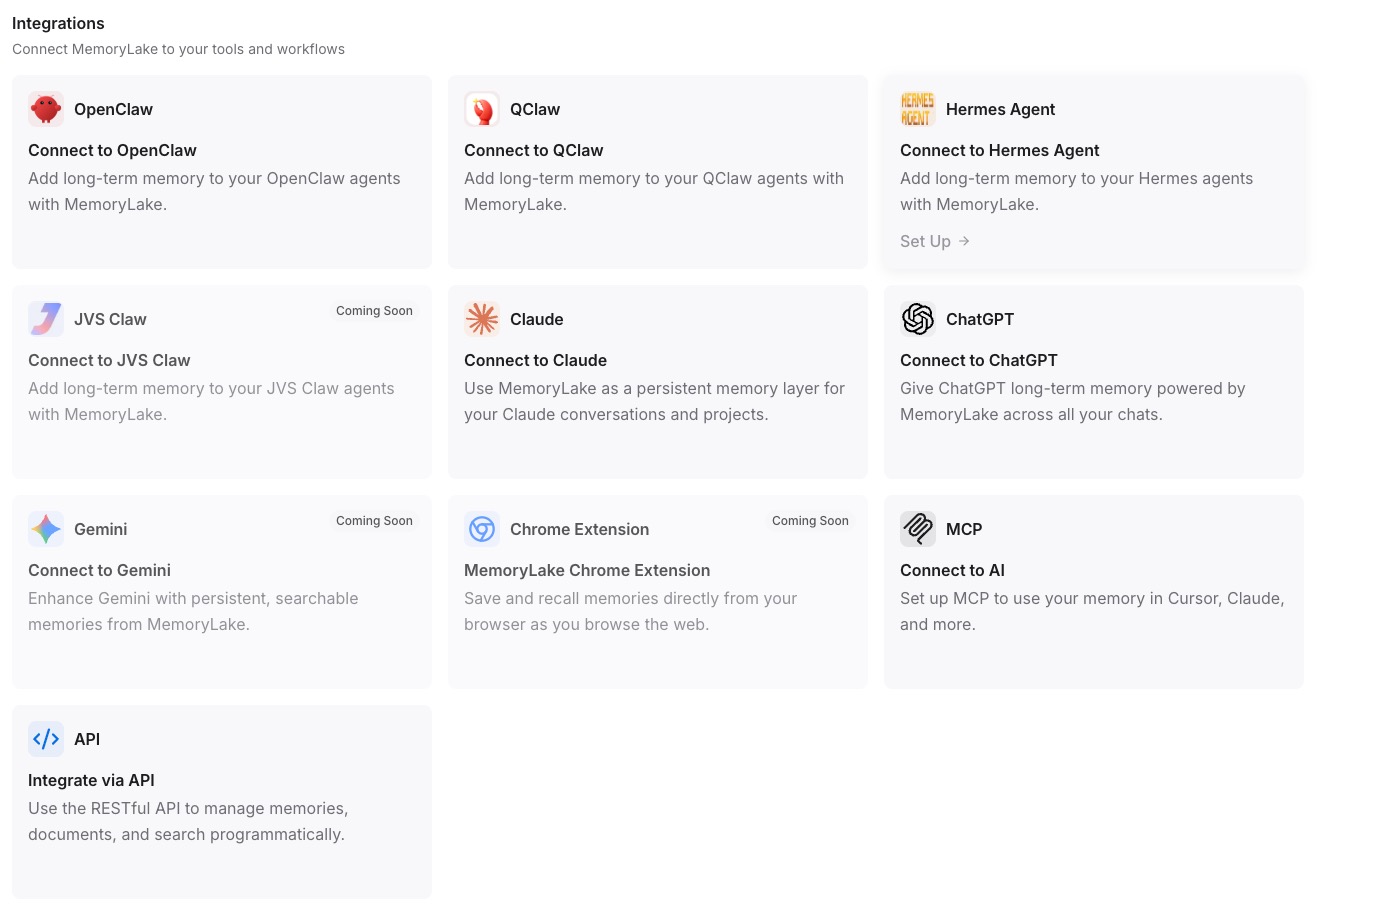
Step 3: Point both tools at the endpoint
Add MemoryLake to Claude Desktop's MCP config with the endpoint URL and the Secret as a Bearer token, then restart Claude. In Windsurf's MCP configuration, add the same entry and restart Windsurf.
Native migration vs MemoryLake
| Dimension | Native Claude → Windsurf | MemoryLake bridge |
|---|---|---|
| Steps required | 7–10 manual | 3 one-time |
| Estimated time | 20–35 min per Project | ~5 min setup |
| Preserves Project boundary | Per-repo only | Yes (one Project) |
| MCP tool reuse | Configure per client | Endpoint shared |
| Syncs ongoing changes | No | Yes |
| Works with a third tool later | No (rebuild) | Yes (add MCP) |